How to Work With Both Good & Bad Design Clients

Today, I want to talk about our favorite subject as designers: clients. Oh, clients. You can’t live with them, you can’t punch them! The primary thing to remember when dealing with clients is this: you can never – I repeat, never – make a bad client into a great client. Let me say that again: you can never make a bad client into a great client.

Sometimes you can make a bad client into a passable one, but, unless you’re getting compensated extremely well, it’s rarely worth the effort.

An unreasonable, demanding, emotionally disturbed client already has those qualities before you even meet them. It’s not personal – they’d most likely be that way with any designer.

If you want to have a challenging yet rewarding, insanity-free working relationship, you must start with a good client.

Fair enough, you say. But how am I supposed to tell which clients are good and which ones aren’t before I work with them?

In my experience, there’s an easy way to determine which clients are worth the trouble and which ones you should just skip over, and it has to do with their budget. Not the specific amount, per se, but their attitude towards budgeting in general.

There’s a profoundly important difference between a reasonable client who doesn’t have much of a budget, and a client who’s just, well, cheap.

The former you should, by all means, seek out and work with – the little guys need good design too! Clients who can’t pay you what you feel your standard rate should be can usually help you out in other ways that will lead to much more lucrative opportunities later. Let me explain what I mean.

Something For Nothing

When working for less than your standard rate (and again, there’s nothing wrong with that, especially in today’s economy), you should always negotiate for something else in exchange for your “discount.”

And you should treat it like a discount. Your client is receiving your services at a lower rate, and they need to be aware that, as such, there are certain deliverables that won’t be available to them.

If your client can’t pay the initial price you quote them for the work, the second price must carry a reduced amount of work. The initial price you quoted them has value in the client’s mind.

If you are willing to “bend” on that price – if you, say, do a job worth several thousand dollars for a few hundred – what happens is that you reduce your perceived value to the client. The client will know then that you weren’t serious about your standard rate, and they may try to take advantage of you and get more work for even less money.

Always be firm about how much you cost. When clients know that you value your work and don’t compromise your own worth by wavering on your prices, they will value your work as well. Just as you wouldn’t expect to get an oil change and new brakes for the price of a car wash, your potential clients must know that there is a limit to how much service you can provide on a budget.

If a client is worth working for, they’ll accept that your higher-priced services are out of their range, and will be willing to discuss other, non-monetary options as part of your compensation. What kind of options? Well, I’ll tell you.

If you’re dealing with a reasonable client, you’ll be able to negotiate for three main forms of non-monetary compensation. You can negotiate for just one, or all three, but using this technique will help you quickly weed out those clients who don’t value you or your work.

The three main elements that can be included in your compensation are:

1. Referrals

Not “exposure” – that’s a vague word which can mean almost anything. But actual, genuine referrals from your client personally to people who can and will hire you. A list of warm leads directly from a paying client is worth its weight in gold, and can sometimes be more valuable than a single paying job.

It’s not too much to ask, and if you’ve got a good client, they should be more than happy to provide at least a few. If not, run far away. That client is not worth the trouble because they aren’t going to get any more reasonable.

If someone can’t be bothered to come up with two or three referrals among their friends or colleagues, what makes you think they’re going to trust your design decisions or resist unnecessary scope creep?

2. Creative Freedom

You can and should use your lack of financial compensation as leverage to secure more creative freedom on a project than you would have otherwise.

This doesn’t mean go berserk with the composition or give them something completely inappropriate. But a client who’s receiving a discounted form of your services can absolutely be expected to hand you the reins and allow you the freedom to make the decisions you feel are best for the project.

3. A Guarantee of Future Paid Work

Whether it’s at your current rate or at a more standard one, your client can offer to provide you with more work in lieu of more money upfront.

Perhaps something more challenging that has a bigger budget, or something recurring that you can deliver on a regular basis. Be creative, and think of all the ways you can provide value to your client.

A good, satisfied client will be happy to give you first priority for future work, if you let them know that you would like it to be part of your compensation. Again, this is not too much to ask for, and any client who thinks it is is a bad client. Period. Runaway.

Never Slave Away for Peanuts

Always make sure to discuss these options with your clients to make sure you’re never just slaving away for peanuts. It goes without saying that, if you expect to receive these kinds of extras, you should do your very best work and provide as much value to your client as possible for the price they’re paying.

No client is going to refer a bad designer to their friends, nor should they be expected to. But if you’re awesome, and you do awesome work, there’s no reason why you shouldn’t expect to be fairly compensated, even if the client is on a budget.

I think that the most important thing a designer can learn is how to be discerning, and how exactly to go about negotiating extras.

There’s an art to it, which many designers, sadly, have not yet mastered. The key is to project confidence and subtly make your clients aware that you have other options without coming off as arrogant, rude, or condescending.

By gently but firmly negotiating extras in your compensation package, you’ll make even the most budget-conscious clients respect you and desire to work with someone of your performance level.

And the “cheap” clients who won’t budge? Leave ’em – they’re impossible conversions!

The post How to Work With Both Good & Bad Design Clients appeared first on Speckyboy Design Magazine.

Don’t Let Legacy Software Stop You from Adopting the Latest Web Technologies

Web design is an ever-evolving field. It seems like a new tool or technique arrives every day. And there’s a lot of pressure for professionals to keep up with the times.

Maybe it’s a bit scary. But there’s a certain excitement that comes with it as well. You learn something new and apply it to your daily work. Most of the time, you’re all the better for it.

For example, consider a new CSS layout that makes multiple columns a breeze. Or a JavaScript library that enables you to build a stunning UI. These are the things that help to push us forward.

Yet, there’s also something that holds us back. A twist of fate so cruel that it laughs in the face of the great new thing you just mastered. We’re talking about legacy software.

This ragtag collection of old browsers, operating systems, and server configurations can be more than just a painful reminder of the past. They can also get in the way of true progress.

But don’t let it ruin your good time. Today, we’ll look at some reasons why you may not need to hold back on implementing the web’s latest and greatest.

Look at the Potential Risks and Benefits

It’s never a good idea to throw a new technology onto a website without careful consideration. Otherwise, you run the risk of negatively impacting both users and your bottom line.

Before you dive headfirst into that cool feature, take some time for analysis. Creating an old-fashioned list of pros and cons can provide you with a macro view of the situation. From there, you’ll have a better idea of whether or not to move forward.

Let’s take CSS Grid as an example. It’s all the rage these days. But is it right for your project? To find the answer, start by writing a list:

Pros

  • Makes complex layouts easier;
  • Code may be leaner, better performing than other layout methods;
  • Lots of modern browser support;

Cons

  • No or spotty support in legacy browsers;
  • The same layouts may be possible with better-supported methods;

That’s just a partial list, but you get the idea. The mere act of writing (or typing) out your thoughts can lead you to go further in-depth. The deeper you go, the more thorough your analysis will be. The ultimate goal is to make the most informed decision possible.

Usage Statistics Matter

We know there are people out there still using legacy software. And while web designers tend to think in terms of browsers, that doesn’t tell the entire story. Operating systems also play a role. They not only make a difference in what features are available, but they are also likely limited by older hardware configurations as well.

For instance, looking at desktop devices, the version of macOS or Windows a user is running may restrict what browsers are available. On the surface, this might make you think twice about using a newer image format such as WebP.

Mac users who don’t have the Big Sur version of the OS or later or are stuck with a version of Safari that lacks WebP support (Chrome and Firefox support WebP, however). And someone using the aged Windows XP won’t have access to Microsoft Edge.

But that doesn’t necessarily mean that the visitors to your website are among the legacy crowd. By looking at your website’s analytics, you’ll have a better idea of which browsers, operating systems, and devices are being used.

If you find that these users make up a tiny percentage of your overall visits, that may be convincing enough to move ahead with the new technology.

Data charts displayed on a screen.

Fallbacks May Be an Option

OK, perhaps you want the best of both worlds. You not only want to adopt the latest web technologies but also keep on supporting legacy users. “Leave no user behind!” is your motto.

This is very much possible with the use of fallbacks. What’s a fallback? It’s a method of switching out code that a specific browser can’t understand with something that it can.

Sticking with our CSS Grid example, we know older browsers aren’t going to do very well with it. But they do understand something like Flexbox or even old-fashioned CSS floats.

Using a tool such as Modernizr, we can detect which features a browser supports. If it supports CSS Grid, wonderful. If not, we can serve up an alternative layout.

The great thing is, you get to decide how it all works. Maybe someone using IE 11 doesn’t need a full-on replica of a fancy layout – just a reasonable facsimile. Either way, this brings some level of comfort in knowing that you’re covering as many users as possible.

A sign that reads: "Trust".

Keep Moving Forward

Legacy software is still among us. Fortunately, apps that fail to support modern web technologies are increasingly dying out. As their usage numbers shrink, so do the reasons for holding back CSS Grid, WebP, and other goodies.

Even so, it’s still worth doing your homework with regards to any new technology that interests you. Think about the pros and cons of implementation and use analytics to determine the impact on users.

Fallbacks are also an effective way to mitigate any negative effects for users of outdated software. They’ll still be able to use your site. Meanwhile, everyone else gets the latest features.

The web has come a long way over the past few years. It’s time to start taking advantage of that progress.

The post Don’t Let Legacy Software Stop You from Adopting the Latest Web Technologies appeared first on Speckyboy Design Magazine.
Tips for Improving the Core Web Vitals of Your WordPress Website

Google has a way of creating a wave of panic among both web designers and website owners. When they make a change to their search algorithm, people start scrambling to catch up. It’s easy to understand why. No one wants their SEO rankings to suffer.

So, when the Core Web Vitals metrics were announced, the response was pretty predictable. As these changes are based on site performance, our attention has turned to ensuring load times are lightning-fast.

But it’s not always simple. Websites that run a content management system (CMS) such as WordPress can be especially challenging. There are a lot of factors at play. Therefore, improving performance requires a multi-pronged approach.

Where to start? Check out our guide to boosting the Core Web Vitals score of your WordPress website.

Implement Caching

One of the simplest ways to increase the speed of a WordPress website is to implement caching. In many cases, a previously sluggish site will become significantly faster with this single step. This holds true even on relatively cheap hosting.

By default, WordPress pages and posts must retrieve content and settings from the site’s database. This takes time. Cache, on the other hand, will serve up content as static HTML files – cutting out the need for a database call. With the middleman (i.e., database) out of the way, snappier load times will follow.

Some hosting packages, particularly managed WordPress hosting, will include server-based cache. This is often the best option, as it requires very little from web designers and performs quite well. It may need to be cleared out every so often. Otherwise, it’s a hands-off experience. And it can be effectively combined with a plugin to further enhance speed.

Even if your host doesn’t provide caching on the server level, you can still optimize performance via a plugin. Caching plugins vary in scope, complexity and pricing. But they do provide tangible results when it comes to improving load times. That, in turn, is a positive boost for Core Web Vitals as well.

Defer Loading of Render Blocking Scripts and Styles

When testing your website’s performance in Google PageSpeed Insights, the subject of render-blocking resources seems to come up a lot. These are the scripts and styles that aren’t considered “critical” – meaning they’re not required to render the “above-the-fold” page content.

These resources can get in the way of faster load times. Specifically, they impact the “Largest Contentful Paint (LCP)” score in Core Web Vitals. This is the time it takes for the main content area of a page to load. Reducing LCP is, well, vital.

One way to improve the situation is to delay (or defer) when various content elements (images, videos, block-level text) load. This ensures that only the needed scripts and styles load first, while everything else comes in afterward.

Along with minification, many WordPress caching/optimization plugins also happen to include this type of functionality. It can take a bit of experimentation, however, as deferring the wrong resource can be problematic.

Be sure to test out any changes you’ve made and check the browser console for errors. Once you find the right configuration, the number of render-blocking resources on your page should be significantly reduced.

A Yield sign on a street.

Optimize Images

The widespread use of large hero images and complex sliders only adds to the challenge of performance optimization. These assets may look nice, but can easily add up to megabytes worth of data. That’s not going to get you a passing grade for Core Web Vitals – particularly on mobile.

Thankfully, there are a couple of ways to lighten the load. First and foremost, get rid of any images you deem unnecessary. The removal of even one large image can make a difference.

The rest of your images can be optimized. This will reduce their file size and lessen the impact they have on load time.

How you go about image optimization is up to you. You could download a copy of your worst offenders and compress them using your favorite image editor, then upload them back onto your website. Or, you can automate the process with a helpful WordPress media plugin.

Responsive Images

For mobile users, WordPress includes the ability to serve up responsive images via srcset. In fact, it will automatically do the dirty work for you on images placed within your content. This is incredibly valuable, as it prevents massive desktop-sized media from slowing down the mobile user experience. For images outside of the main content area, you may need to do some custom work to implement this feature.

Modern Image Formats

It’s also worth looking at the file formats you’re using. For example, Google’s WebP format can often reduce file size while maintaining image quality. Note that some newfangled formats aren’t supported in legacy browsers (ahem, IE), so fallback versions may be necessary. Plugins can help with that as well.

A person uses photo editing software.

Lazy Load All the Things

Lazy load functionality only loads items once they are in the browser’s viewport. By delaying the loading of images, iframes, and other third-party content (such as social media widgets), you can focus resources on the elements users will see first.

WordPress already implements native, browser-based lazy loading to images. When you add an image to a page or post, the loading="lazy" attribute is placed within the <img> tag. That is, provided the image includes height and width attributes.

This is great – but what about other elements, such as videos or iframes? These items can also weigh down a page when loaded right from the get-go.

Iframes are now lazy-loaded by default – so no worries there. Some more complex elements may require custom code or a plugin to implement this functionality.

A dog rests on a bench.

Clear Out the Clutter

Over time, even a well-maintained WordPress site can become cluttered. A clogged database, unused plugins that are still active, a bloated theme with features you’re not using – it happens. And it can also drag down your Core Web Vitals.

That’s why it’s important to tidy up now and again. Your site’s database can be optimized manually or set to do so regularly. Unused plugins can be deactivated and trashed. Themes can be made leaner or replaced with something better.

Study up on what’s slowing down your website, find the culprits and deal with them. You might be surprised at how much of a difference this can make.

Letter tiles that spell out "KEEP THINGS SIMPLE".

Improve Your Website’s Core Web Vitals

Core Web Vitals complicates the already tricky process of optimizing WordPress website performance. Even a website that scores well in other performance metrics may still fall short in this area. This shines through in mobile testing most of all.

The good news is that there are plenty of little things designers can do to catch up. Implementing cache sets a great foundation and provides an immediate boost. From there, it’s a matter of reducing file sizes and loading up styles and scripts in order of importance.

Taking things even further, it also makes sense to adjust your site’s CSS with Core Web Vitals in mind. This can help with the dreaded Cumulative Layout Shift (CLS) score and cut down on bloat.

In general, the things that are good for performance are also good for Core Web Vitals. Scores can improve rather quickly. Just know that it’s going to take some trial-and-error to sort out some of those individual shortcomings.

The overarching goal is to ensure that only the essentials are loaded when a user visits your website. Doing so will make both visitors and Google quite happy.

The post Tips for Improving the Core Web Vitals of Your WordPress Website appeared first on Speckyboy Design Magazine.

Weekly News for Designers № 611

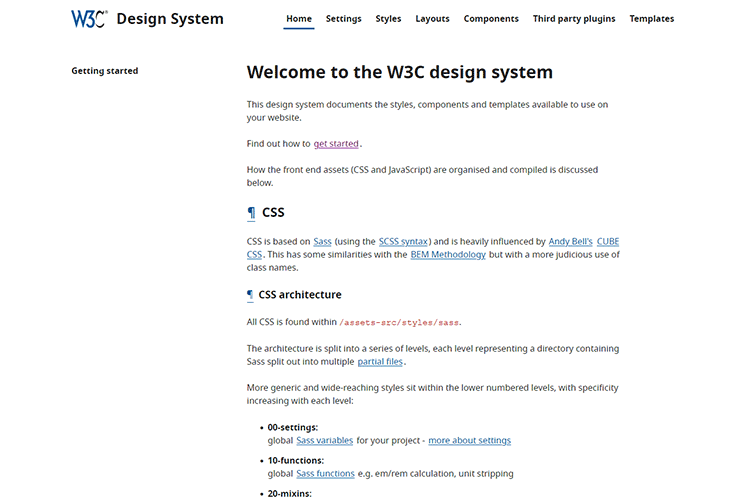
Welcome to the W3C design system – A look at how the W3C’s design system is structured. You can even download templates for use in your own projects.
Example from Welcome to the W3C design system

How to Work With Both Good & Bad Design Clients – How to determine which clients are worth the trouble and which ones you should just skip over.
Example from How to Work With Both Good & Bad Design Clients

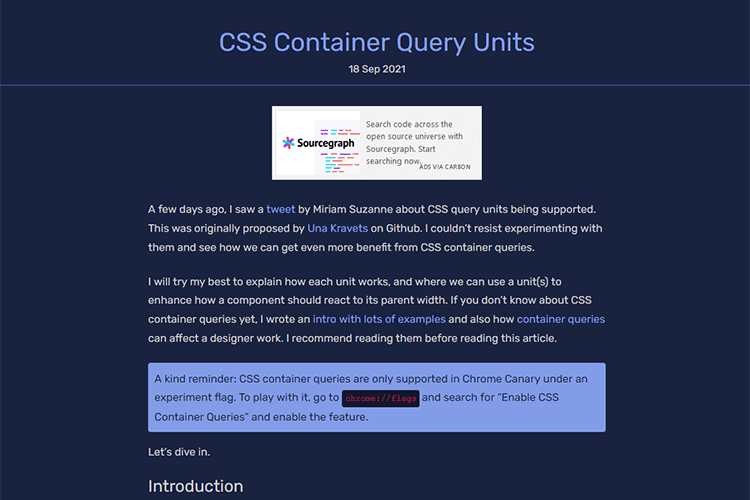
CSS Container Query Units – Experimenting with CSS container queries using different units.
Example from CSS Container Query Units

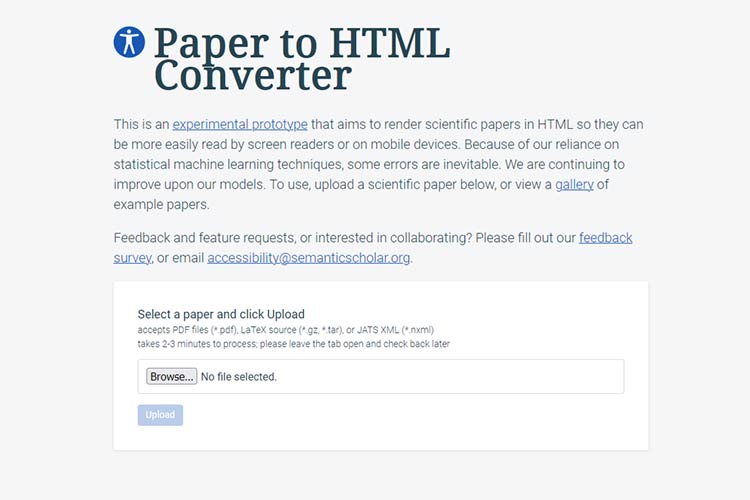
Paper to HTML Converter – Check out an experimental prototype that aims to render scientific papers in HTML.
Example from Paper to HTML Converter

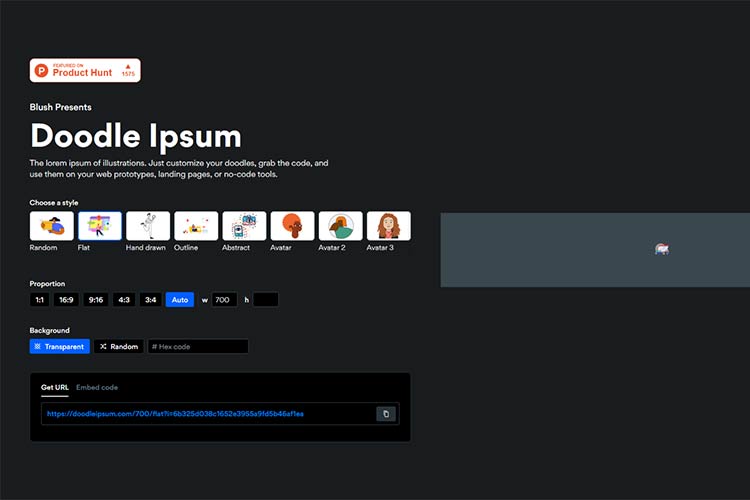
Doodle Ipsum – Create custom doodles for use on your project prototypes, etc.
Example from Doodle Ipsum

10 WordPress Plugins to Help Improve Website Accessibility – A wide selection of tools to help us meet the challenges of accessibility.
Example from 10 WordPress Plugins to Help Improve Website Accessibility

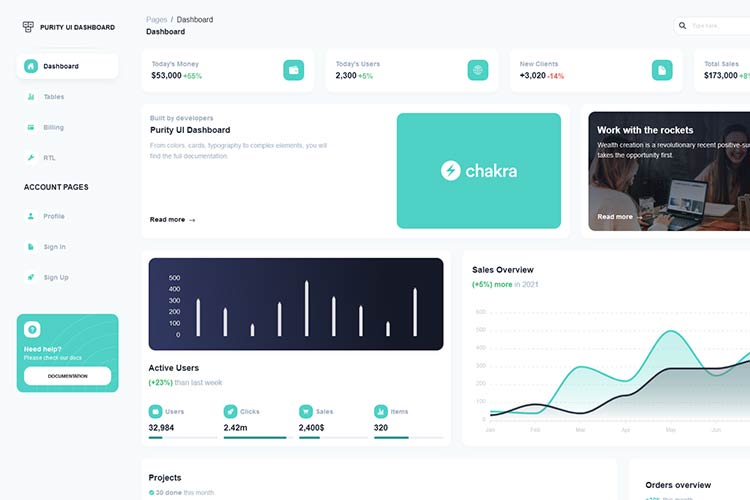
Purity UI Dashboard – Grab a copy of this free ReactJS Dashboard based on Chakra UI.
Example from Purity UI Dashboard

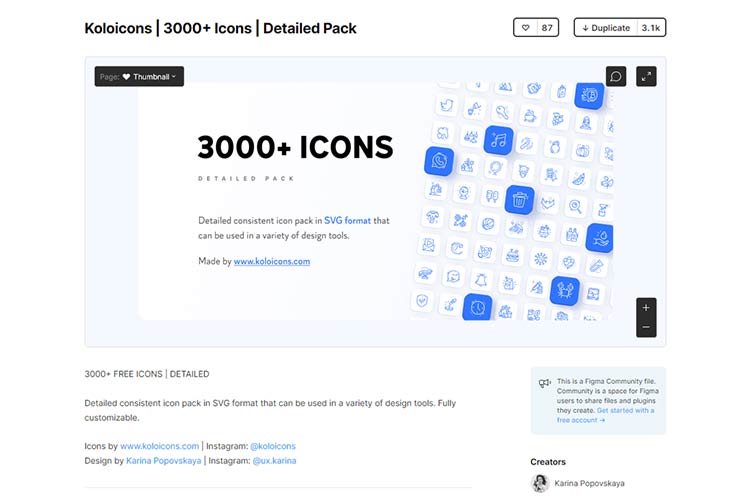
Koloicons – A fully-customizable library of 3,000+ free SVG icons.
Example from Koloicons

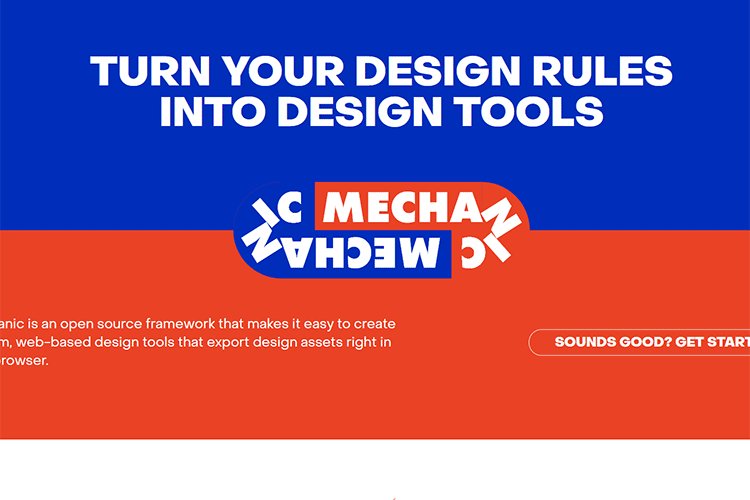
Mechanic – An open-source framework that makes it easy to create custom, web-based design tools that export design assets right in your browser.
Example from Mechanic

Clients Make Too Many UX Decisions. Here’s How to Stop Them. – Tips for inviting client feedback while keeping them at a safe distance from UX.
Example from Clients Make Too Many UX Decisions. Here’s How to Stop Them.

iPod.js – This JavaScript app uses the familiar iPod Classic UI and pairs it with the ability to connect with popular streaming services.
Example from iPod.js

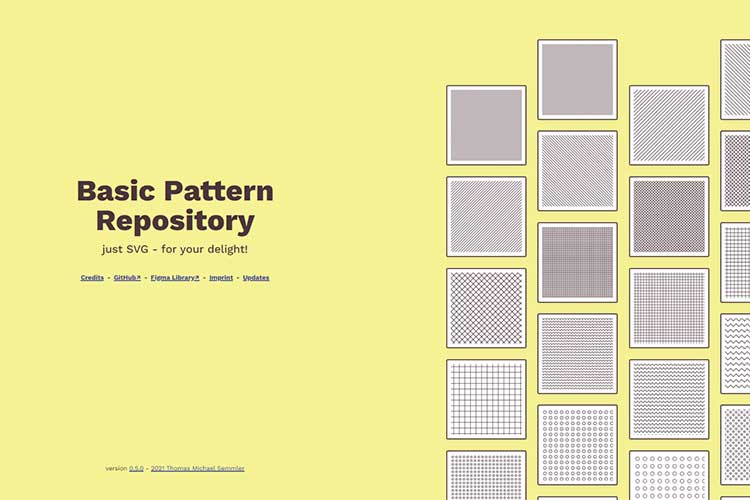
Basic Pattern Repository – A collection of simple and seamless SVG patterns that you can copy and paste into projects.
Example from Basic Pattern Repository

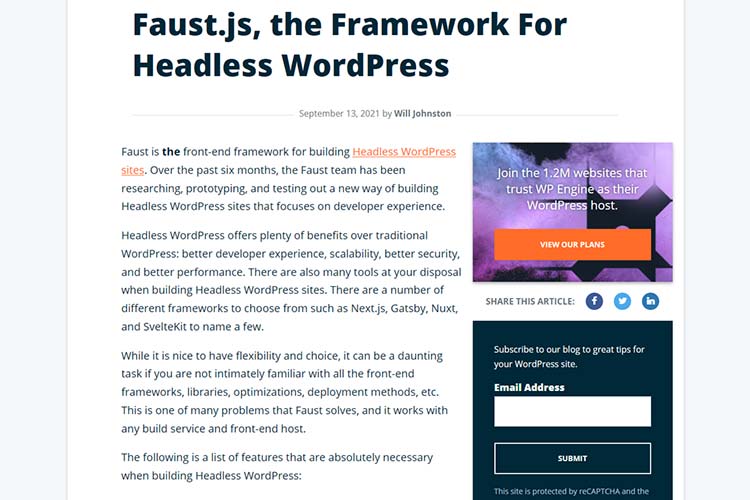
Faust.js, the Framework For Headless WordPress – Take a peek at WPEngine’s new headless WordPress framework.
Example from Faust.js, the Framework For Headless WordPress

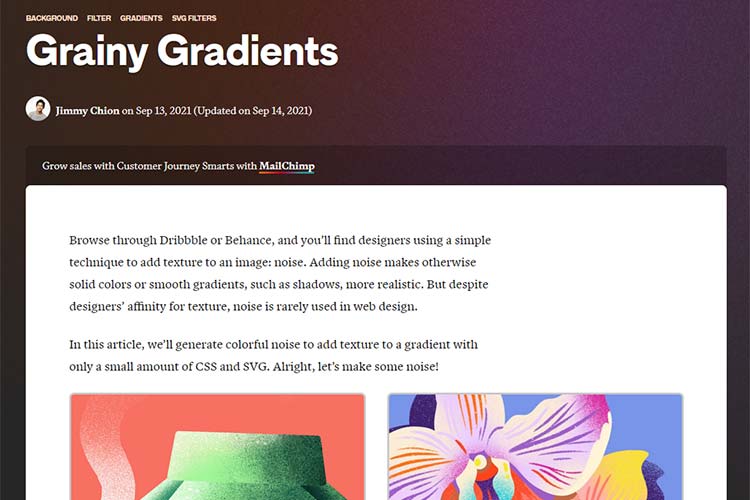
Grainy Gradients – Learn how to create noise effects with CSS and SVG.
Example from Grainy Gradients

Tips for Improving the Core Web Vitals of Your WordPress Website – Optimize your site’s performance and stay in Google’s good graces.
Example from Tips for Improving the Core Web Vitals of Your WordPress Website

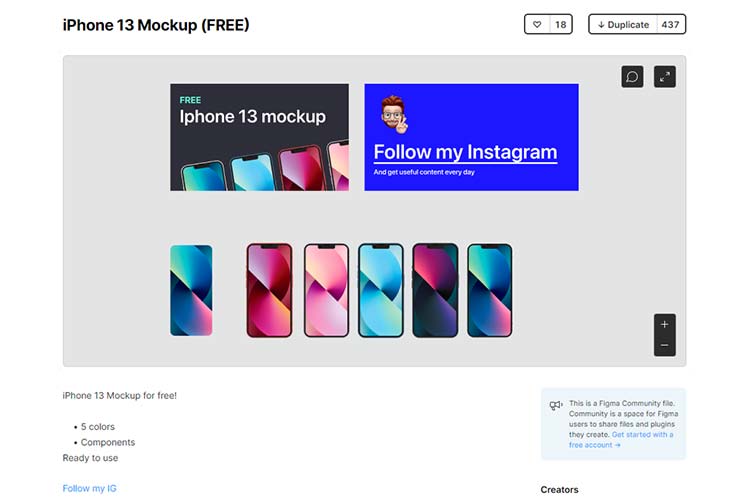
iPhone 13 Mockup (FREE) – Add the latest iPhone to your device mockup collection with this free Figma file.
Example from iPhone 13 Mockup (FREE)

Create Content That Targets Your Existing Design Clients – Write informative content that is sure to pique your client’s interest.
Example from Create Content That Targets Your Existing Design Clients

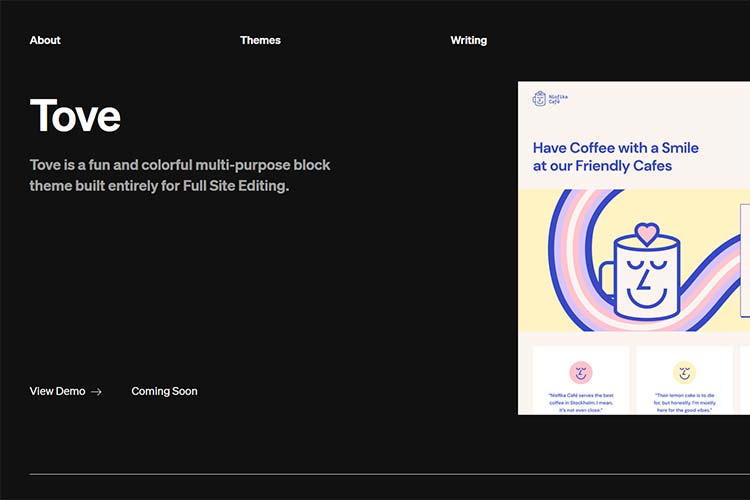
Tove – This new WordPress theme takes advantage of Full Site Editing (FSE) and the Gutenberg block editor.
Example from Tove WordPress Theme

The post Weekly News for Designers № 611 appeared first on Speckyboy Design Magazine.

Did you miss our previous article…
https://www.1clanek.info/?p=1206

The 10 Best Photoshop Action Sets for Creating the Bokeh Effect

The bokeh effect has a multitude of uses within digital art. It can be overused, sure. But it can also be simply stunning. Trying to recreate this look on your own would be a time-consuming task. Thank goodness for Photoshop actions, right?

What you’ll find here is a fantastic set of Photoshop actions that greatly simplify the process for making the bokeh effect. Most of these can be implemented with just one click and offer a wide range of stunning results.

It’s a good idea to try a few of these effects for yourself to see which would best serve your work. You’re certain to find something that works well, and that speaks to your specific needs. Now, without further delay, let’s jump right into the list!

Dual Light Photoshop Actions

The Dual Light Photoshop Actions set creates a beautiful double light effect on any photo of your choosing and add smoke and bokeh effects. The final image is layered and can be customized in a wide number of ways. This action set also comes with 20 color presets.

Soft Focus Photoshop Actions

Another action set you might want to consider is the Soft Focus Photoshop Action. This one works quite simply. Just add it to a specific area of a photo that you want to remain in sharp focus, then play the Action. The end result is a soft focus on the rest of the image which provides a bokeh effect.

Soft Focus Photoshop Actions

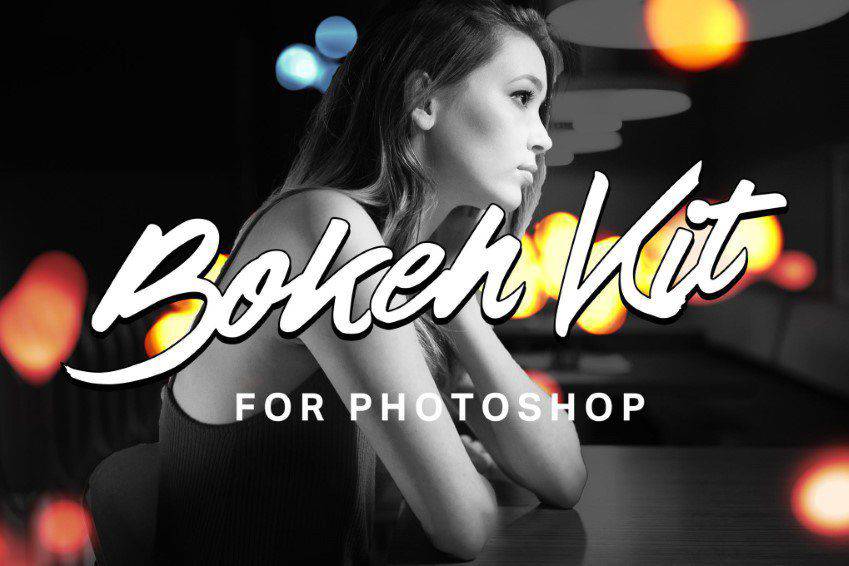
Bokeh Kit for Photoshop

The Bokeh Kit for Photoshop is another fantastic option. It’s minimal in effect but really cool and can transform your photographs in a variety of ways. This kit actually has a lot going for it, in that it’s not just a bokeh Photoshop action. It also comes with 8 bokeh gradients and 40 bokeh brushes to help give you more control over the end result.

Bokeh Kit for Photoshop

Bokeh Bomb Creation Kit for Photoshop

Another great option is the Bokeh Bomb Creation Kit for Photoshop. It’s chock full tools and resources for adding bokeh effects to your photographs. This kit comes with eight smoke effects, fast rendering, and snapshot prerendering play. It’s also nondestructive, so you can revert an image back to your original photo if need be. Other features include 20 bokeh gradients and 180 bokeh overlays.

Bokeh Bomb Creation Kit for Photoshop

Holidays Bokeh Photoshop Action

You might always want to check out the Holidays Bokeh Photoshop Action set. This one comes with just one action file and one brush file and is supplemented by a thorough how-to file. It’s completely easy to use, non destructive and compatible with all of the latest versions of Photoshop.

Holidays Bokeh Photoshop Action

Bokeh Photoshop Actions

This is another great option designed with selfies in mind. This Photoshop action works by turning your selfies or iPhone photos into professional-looking photos by adding a bokeh effect. The action has 10 color effects that you can use as well to further customize the finished product. A help file and video tutorial are also included for your convenience.

Bokeh Photoshop Actions

Brightum Soft Focus Photoshop Action

The Brightum Soft Focus Photoshop Action is definitely worth considering as well. This action works by creating soft focus and light effects on your photos. All you have to do is select on area then click play. From there, you can make adjustments to color, contrast, and gradients as well thanks to 10 color presets and well-organized layers.

Brightum Soft Focus Photoshop Action

Shimmer Photoshop Action

If you want to leave your viewers dazzled, the Shimmer Photoshop Action is a great option. This action works as follows: brush the area of the photo you want to add a sparkle effect to then click play. That’s it! The end result is bright area of the photo that draws the eye and looks like it’s shining with tiny pieces of glitter.

Shimmer Photoshop Action

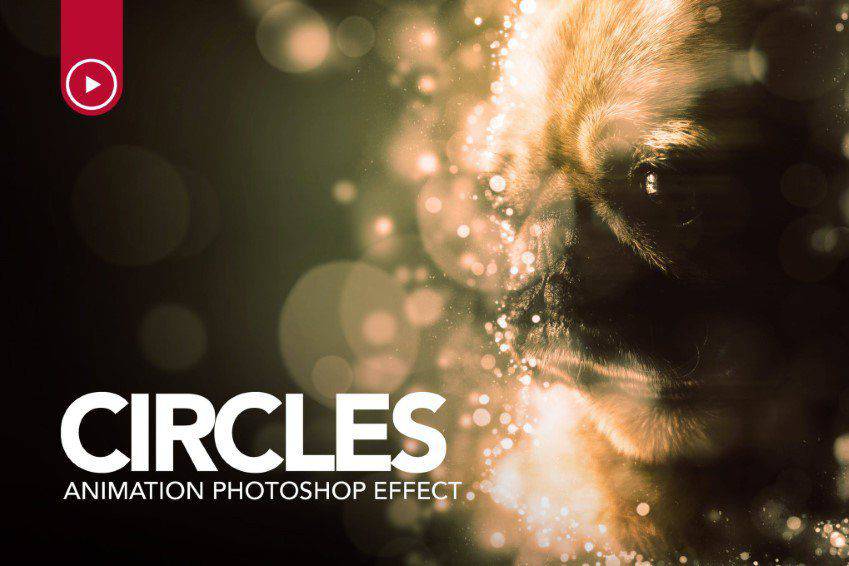
Circles Animation Photoshop Action

And check this one out! The Circles Animation Photoshop Action is a great one to add to your toolbox. With just one click, you can add soft focus light effects around The end specific area of a photo that you select. The end result is a sparkling effect that pulls in the eye.

Circles Animation Photoshop Action

Glory Photoshop Action

The Glory Photoshop Action is super easy to use. All you have to do is fill in your chosen subject with a color of your choice, select a light direction, then play the action. That’s it! You can select from 8 different light directions and the end result is non destructive as well so you can undo the effect if you don’t like how it turned out.

Glory Photoshop Action

Magicum Studio Lights Photoshop Action

The last action on our list is the Dreamy Photoshop Action. This one adds firefly effects with soft focus to your images. Select the area you want to highlight and click play. That’s all there is to it. This action comes with 10 color presets, graphic elements, and it’s layered and organized for convenient use (and undoing, should the need arise).

Magicum Studio Lights Photoshop Action

How to Install Photoshop Actions

  1. Download and unzip the action file
  2. Launch Photoshop
  3. Go to Window > Actions
  4. Select Load Actions from the menu and go to the folder where you saved the unzipped action file to select it
  5. The Action will now be installed
  6. To use the newly installed action, locate it in the Action panel
  7. Click the triangle to the left of the action name to see the list of available actions
  8. Click the action you want to play and press the play button at the bottom of the Actions panel

We hope you enjoyed this list of the best Photoshop actions for creating the bokeh effect. Bokeh is versatile and relevant for a wide number of photographs and design choices. And in the end, after you’ve experimented with a few of the actions provided here, you’re bound to capture a look that fulfills your artistic preferences. Best of luck!

The post The 10 Best Photoshop Action Sets for Creating the Bokeh Effect appeared first on Speckyboy Design Magazine.

10 Free Design Agency Web Templates for Photoshop

If you’re working on a website redesign for your creative agency, it pays off to have a few design resources stored on your computer that will help you speed up the design process. This includes web templates for Photoshop that you can use when you need inspiration.

In this roundup, we’ve gathered web templates that are perfect for design agencies and will help you complete the redesign concept in no time.

We also have free portfolio PSD templates, free landing page PSD templates, free eCommerce PSD templates and free blog & magazine PSD templates. If you’re looking for a complete PSD web template round-up, take a look at this post.

Evana – Creative Agency PSD Template

The Evana template starts off the roundup strong with its creative and feminine design. Although the template looks like it would work well for feminine websites, you can easily customize the design to use whatever colors you prefer.

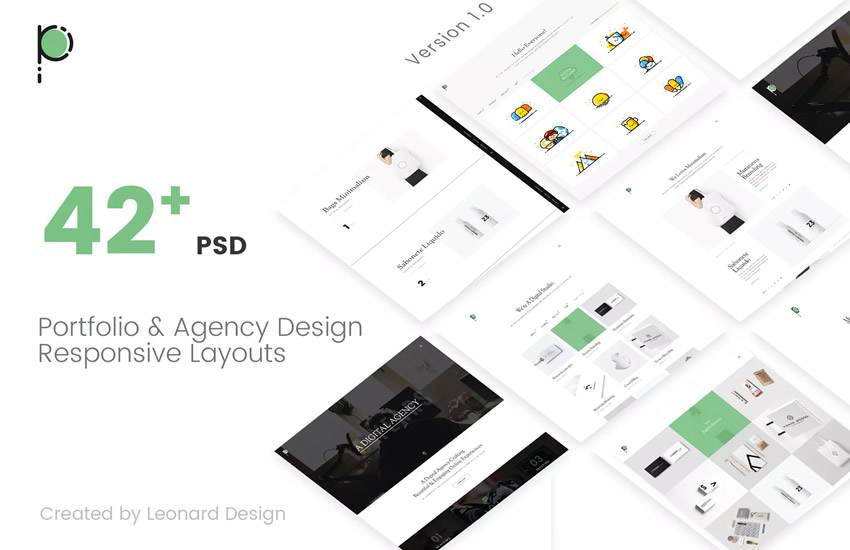
Poseidon – Creative Portfolio & Agency PSD Template (Envato Elements)

The Poseidon template will not disappoint you as it comes with an impressive number of PSD files that will help you design not only the homepage for your agency website but also all the other important pages needed to win new clients.

Poseidon Creative Portfolio Agency web design layout adobe photoshop template free psd format

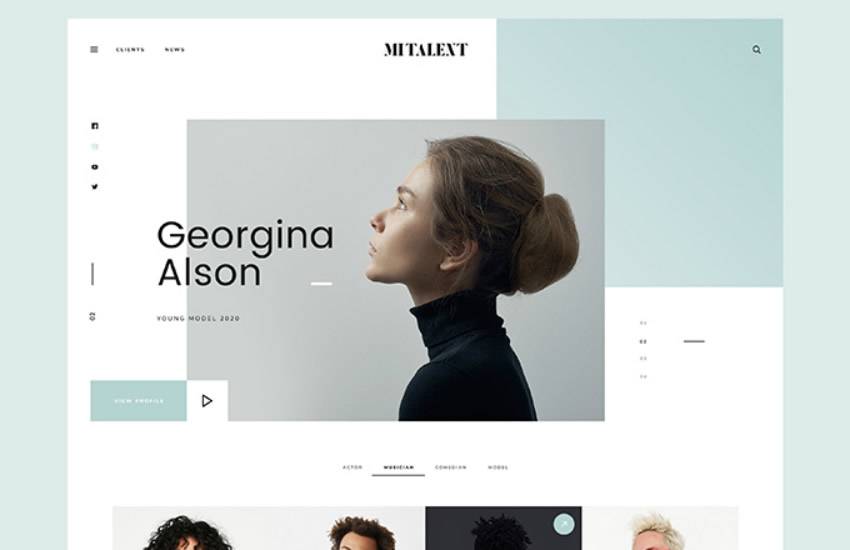
MI Talent – Web Design Agency PSD Template

The MI Talent has a minimal and simple design paired with classic typography that gives it an upscale, timeless look. The template includes several PSD files that are well-organized for quick and easy editing.

MI Talent Agency  web design layout adobe photoshop template free psd format

Splashes Creative Agency Template (Envato Elements)

The Splashes is a unique and creative template, suitable for a wide variety of agency websites. Standout features include fresh and clean design and included HTML files so you can get your new website design live as fast as possible.

Splashes Creative Agency web design layout adobe photoshop template psd format

Piroll – Free Agency & Portfolio PSD Templates

This template has a modern look that provides great flexibility. You can use it for designer, photography, web agency and studio websites. The template comes with 5 PSD sample pages and well-organized layers.

Piroll Agency Portfolio web design layout adobe photoshop template free psd format

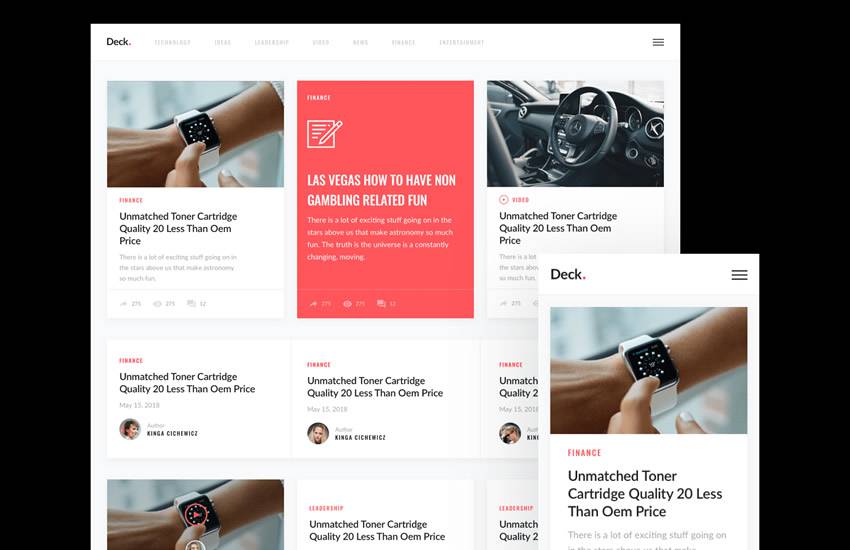
Deck – Free Card-Style PSD Template

Try the Deck template if you’re looking for a unique layout for your agency website. This template has an interesting card-based layout and comes with 45 unique templates and more than 200 design elements.

Deck card Card-Style web design layout adobe photoshop template free psd format

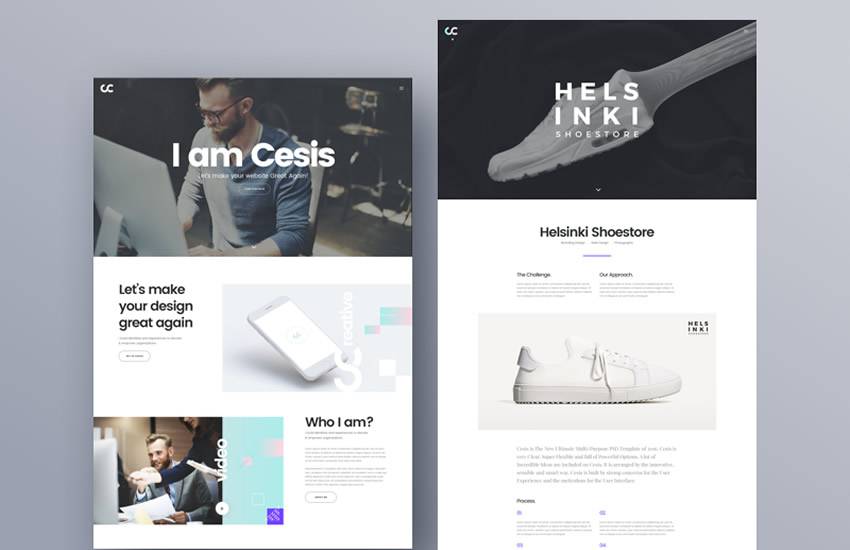
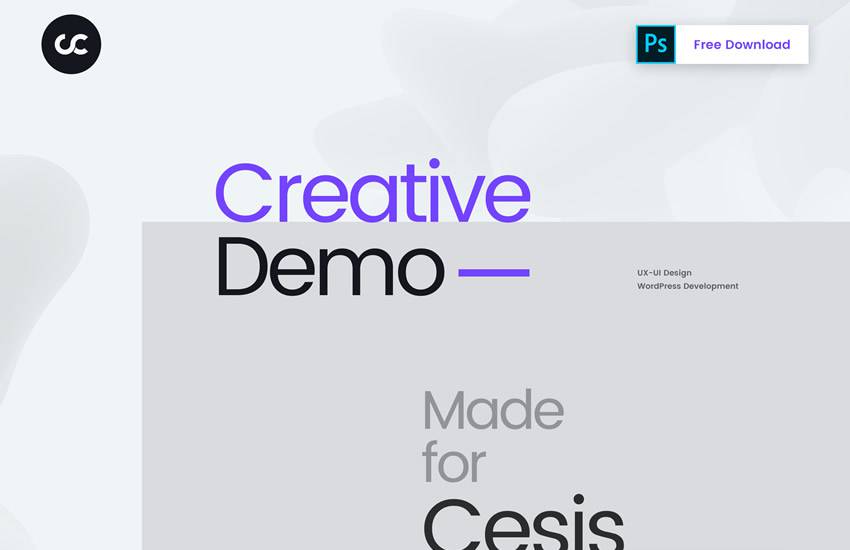
Cesis – Creative Agency PSD Web Template

The Cesis template has a professional design with a corporate feel so don’t miss this one if that’s the style you prefer. The template is well-structured and includes layers that make it easy to customize this design.

Cesis Creative Agency web design layout adobe photoshop template free psd format

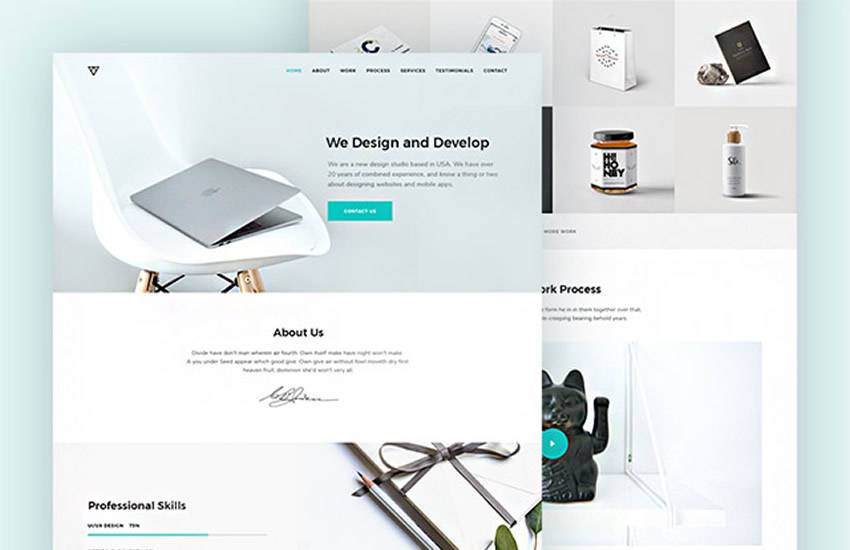
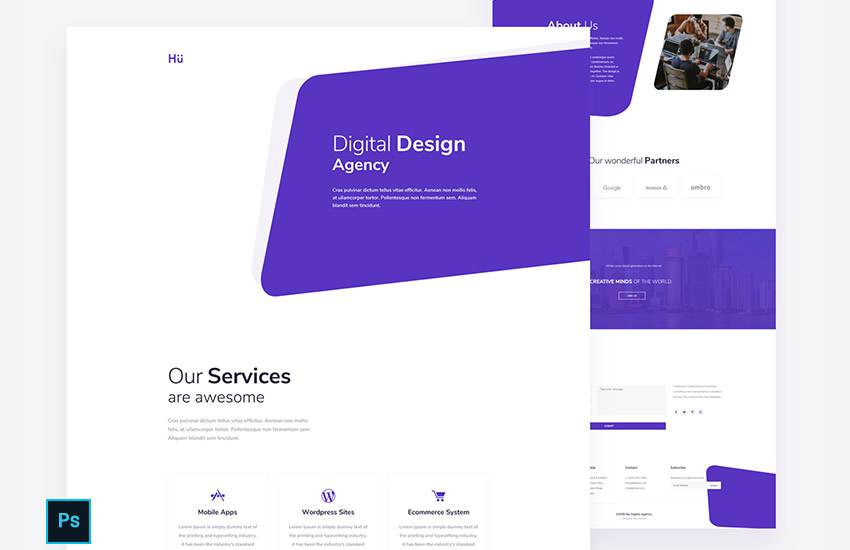
Digital Design Agency Free PSD

The Digital Design Agency template has a fun and fresh design with pops of color that draw your visitors’ attention to your call to actions or important sections such as portfolio or contact. The template includes a fully editable Photoshop file.

Digital Design Agency web design layout adobe photoshop template free psd format

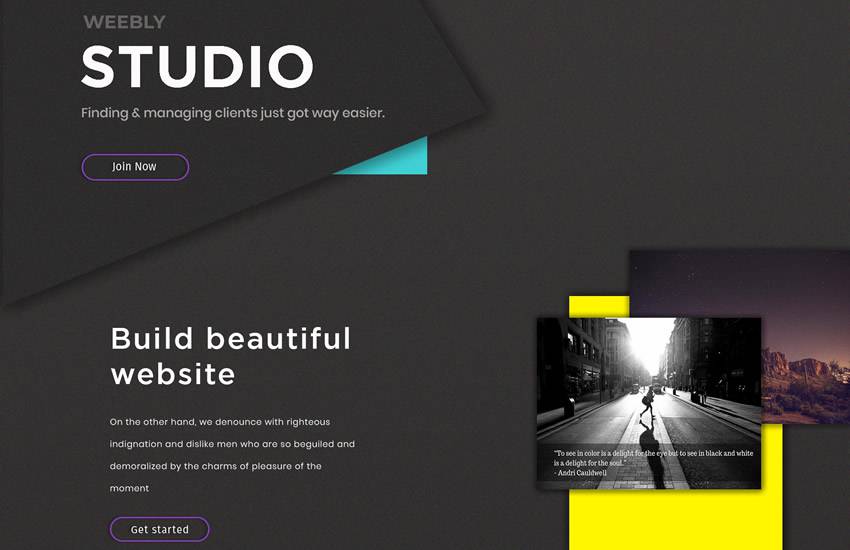
Free Creative Studio Website PSD Template

This free Creative Studio Website template includes both Photoshop and Illustrator formats. The template has a dark color scheme which gives it a sophisticated look and feel but you can easily customize it to match your brand.

Creative Studio Website web design layout adobe photoshop template psd format

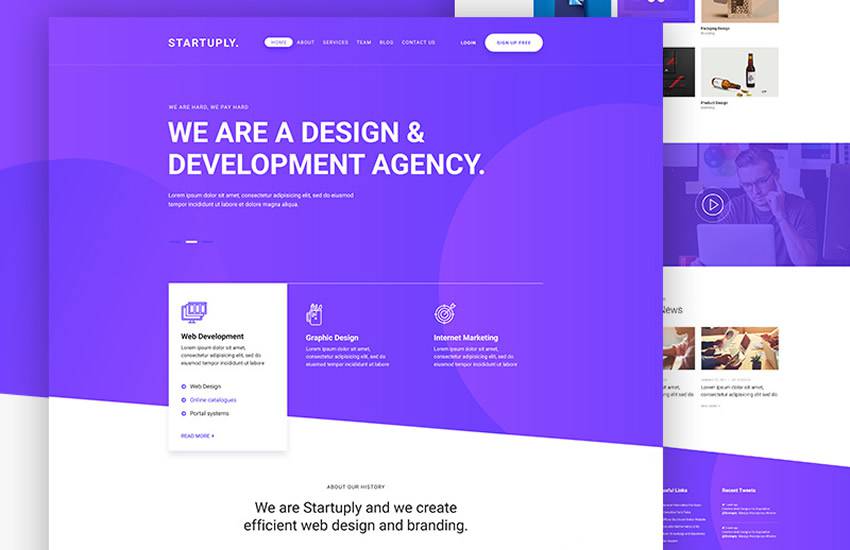
Startuply – Design Agency Landing Page PSD Template

The Startuply is a perfect choice if all you want is a simple but creative landing page. Customize this template with your brand’s colors and fonts and make sure to include all the information about your portfolio, contact information, and agency history.

Startuply Design Agency Landing Page web design layout adobe photoshop template free psd format

Cesis Creative Agency Free PSD Template

This minimal and unique PSD template comes with 8 different page templates so you can design your entire agency website. The template is based on 1920px screen and 1170 grid system and includes stunning full-screen components.

Cesis Creative Agency web design layout adobe photoshop template free psd format

Free Agency Landing Page PSD

The Free Agency Landing Page features a modern design with an interesting color scheme and clean typography. You’ll find several PSD files that are well-organized for quick editing.

Agency Landing Page web design layout adobe photoshop template free psd format


Coming up with a perfect design for your creative agency can be time-consuming. Save time with one of the premade web templates for Photoshop so you can get the initial design out of the way and focus on bringing your website to life.

The post 10 Free Design Agency Web Templates for Photoshop appeared first on Speckyboy Design Magazine.

Changing Hands: Should You Worry When a WordPress Plugin Has a New Owner?

As human beings, we tend to be wary of change. This seems especially so when it comes to the products and services we use. That “new and improved” formula? No thanks – just give us the original, please.

Therefore, it’s no surprise that there has been a lot of grumbling in the WordPress community lately. A number of big-name WordPress plugins have changed hands. The content management system’s ecosystem has suddenly been shaken as vigorously as a snow globe.

A mix of designers, developers, and website owners have taken to social media to voice their concerns. They’re wondering how these transactions will impact both them and their clients. It’s an understandable reaction in a time of such uncertainty.

Many of us feel a personal stake in the plugins we use. Sometimes it’s difficult to separate the emotional aspect of a change from the rational. Still, those feelings can be based on unpleasant experiences from our past. The reality is that not every transition goes smoothly.

So, how much should you worry when a trusted WordPress plugin is under new ownership? Let’s try and make sense of it all. Along the way, I’ll add in a little personal perspective.

There Are Stories behind Every Move

Finding out that a plugin you rely on has been sold can feel like a punch to the gut. I can attest that, as a user, my first reaction tends to be one of dismay. I always wonder why such a thing would happen, why the developer couldn’t leave well-enough alone.

But each time a plugin is bought or sold, there’s a background story. And there are any number of reasons why someone would want to sell. Maybe the responsibilities have outgrown the original developer’s capacity to handle them. Perhaps there are family concerns. The opportunity to cash-in is also in play.

On the other side of the coin, the new owners have their own agenda. They might see this product as one that fits in nicely with their established offerings. Additionally, they may believe that their vision for the product is one that can fuel growth.

Whatever the specifics, it’s important to remember that it takes two sides to make these deals happen. One party wanted to buy, and the other was willing to sell.

And when a plugin author is willing to sell their creation, there is reason to think that it is perhaps in the best interest of the product. There is always the possibility that, without a sale, the long-term outlook for the plugin may be in jeopardy.

So, even though we may have wished for things to stay the same, they may well have changed anyway.

Waiting with Uncertainty

Among the biggest stressors that come with these transactions is the uncertainty over what will change and when it will happen. Unfortunately, new ownership doesn’t always provide immediate answers.

We may get assurances that things will stay “as-is” for the time being. Software licenses will still be valid, features x, y, and z will continue work. Yet, it still feels like impactful changes in these areas are inevitable.

Personally, my biggest concern tends to be pricing. Regardless of who owns a particular plugin, price increases are often part of the deal – I get it. If the product is great, I don’t mind paying a bit more over time.

But major changes in this area could be problematic for web designers and their clients. If you typically purchase a developer’s license to use on client sites, a higher price means passing that cost onward. And if the number of sites allowed per license changes, that could be another expensive headache to deal with.

Then, changes in both support policy and staff can be worrisome. We all want to know that support is there for us when we need them and can help in a timely manner. Thus, there’s concern about new ownership possibly cutting corners.

When it comes to features, users need to know that things will still work as expected. This is particularly important when it comes to third-party integrations.

For example, what if a plugin currently integrates with a product from a rival company – will it still be supported down the road? No one wants to have their choices limited by a corporate jousting match. The bigger these companies get, the more possibility for such situations to arise.

A carton of eggs with silly faces drawn on them.

The Impact on Individual Websites

Ultimately, one wonders about the impact an acquisition will have on their own website. Particularly when a plugin is responsible for a major piece of a site’s core functionality. Add-ons like shopping carts, learning management systems (LMS) and membership managers come to mind.

People invest a lot of time and money into these types of websites. And the thought of having to swap out plugins is enough to send shivers down anyone’s spine.

However, new ownership in itself is not a reason to panic. While there may be a little bit of uncertainty amongst users, that doesn’t make it so with the plugin’s author. They (hopefully) have a plan to hit the ground running and gained plenty of insight into how things work. Even better if the original author, or some current maintainers, are still in the picture.

With that, you might reasonably expect a few minor hiccups during the transition. But there’s no rush to run away from your site’s current configuration. It’s OK to take some time to see how things play out.

It’s natural to have questions and concerns. In that case, the best thing to do is to reach out and try to get some answers.

And if you want to study up on alternative plugins, there’s no harm in doing so. Being prepared is always a positive.

A group of people create a website flow chart.

A Deep Breath and Lots of Fresh Starts for the WordPress Community

At times, the pace of WordPress plugins changing hands has been dizzying. Just as we get word of one notable transaction, another one follows. That alone can feel overwhelming and sew a certain amount of concern within a community.

Plus, it’s disappointing that some well-known developers are moving on. They’ve built a high level of trust with their customers and brought something unique to the WordPress ecosystem. They will be missed.

Still, I think it’s important to keep things in perspective. No, not every acquisition is going to work out perfectly. Some may even fail. Yet, it’s in our interest as web professionals to try and view things objectively.

Therefore, I invite you all to take a collective deep breath (with a mask and six feet of distance, of course). Things have changed. But it’s up to us to make the most of it.

The post Changing Hands: Should You Worry When a WordPress Plugin Has a New Owner? appeared first on Speckyboy Design Magazine.

Did you miss our previous article…
https://www.1clanek.info/?p=1155

How Web Designers Can Cope with Situations Out of Their Control

Everyone wants to control their own destiny. For web designers, that means layouts that look great, code that works as intended, and clients who pay on time.

While we may wish for each of those things, reality usually plays out differently. Layouts aren’t always pixel-perfect, code breaks and clients – well, they’re human.

But it goes even further. The deeper you look, the more situations you’ll find that are out of your control.

This is especially tough for those of us who keep a tight grip on both our business and projects. When something is out of our sphere of influence, it’s easy to become frustrated. And that can harm virtually every aspect of your work. It may even creep into your personal life as well.

That’s why the ability to cope with these situations is vital. By saving yourself from obsessing over something you can’t control, you’ll have more energy to focus on being positive and productive.

Let’s look at a few difficult-to-control situations that typically impact web designers. Along the way, we’ll discuss some methods for letting go in a healthy manner.

When a Longtime Client Leaves

If you’ve worked in this industry for a few years, you may have gotten an unexpected email from a client that goes something like this:

“Hi,

We wanted to let you know that we are in the process of building a new website. It should be ready in the next few weeks. Could you work with our new designer to help with the transition?

It was great working with you!
Your Ex-Client”

This is frustrating on a few different levels. First and foremost, it hurts that you didn’t get a chance to even discuss the project. On top of that, your soon-to-be ex-client expects you to work on the transition away from your services.

Clients will come and go – that’s just part of doing business. However, it’s particularly difficult when someone blindsides you like this.

As it turns out, you had no warning and zero control. If you had just been able to pitch an idea or two, maybe things would have turned out differently? These are the types of thoughts likely racing through your head after reading such a letter.

How to Cope

True, the damage has already been done. And while you can angrily fire off a one or two-word reply to your client, that’s not going to help the situation.

On the bright side, this could be a great learning opportunity. Reply with a few politely-asked questions, such as:

  • Was there a particular reason you went with a new designer?
  • Did you have any issues with the quality of my work?
  • So that I can continue to improve my services, is there anything else you’d like to share?

Much of what you ask will depend on the client and the project. But this is a solid place to start. The idea is to get inside your client’s head a bit and find out what went into their decision.

And while not everyone will provide answers, the ones who do can prove valuable. You may find that your services were lacking in some areas. Or, perhaps the client’s cousin is the “new designer”. Either way, it’s better than pounding your fist over the situation.

When a Third-Party Provider Messes Up

So much of what web designers do these days depends on third-party providers. That could be anything from web hosting, plugins, themes, or email delivery services. In other words – a big piece of a website’s ability to function or be accessed at all is run by someone else.

A failure at any one of these links in the chain can be disastrous. To illustrate the point, think about what happens when a content delivery network (CDN) has an outage. That could bring down a massive number of websites.

Meanwhile, web designers are left without much (if any) control. On one hand, you have an understandably frustrated client. On the other is a company that dropped the ball. Oh, look – there’s you in the middle!

In this type of situation, every second can feel like an eternity. There might be an opportunity to switch to a different product, but that’s not always feasible. If the issue is prolonged, tension continues to grow on all sides.

How to Cope

Maybe you can’t control an outage or even a troublesome line of code. But there are some things you can do proactively.

Working with the provider’s technical support can at least make you feel like you’re in the game. By getting the status of the situation, there’s an opportunity to pass it along to affected clients.

What’s more, any troubleshooting information you can offer also has value. Who knows? If it leads to a resolution, you can say you were part of the process.

A broken plate

When a Favorite App Changes for the Worse

This one often hurts on a personal level. We web designers tend to fall in love with tools and applications that allow us to get things done. Perhaps it’s a favorite design app like Photoshop or a content management system (CMS) such as WordPress.

When apps change, those changes are inevitably forced onto us, as well. They impact our workflow – and not always in the most positive way.

All it takes is a quick look around support forums and social media to see the frustration. Users go on about how the feature they loved was “ruined” or that things will never be the same. We’ve all seen it and, at one time or another, been a part of that collective disappointment.

How to Cope

The first coping strategy is to give such changes a chance to sink in. Even if your first impression of them wasn’t favorable, it can take time to build a comfort level. A feature that may have frustrated you at first could become positive after more exposure.

Second, you might reach out to the developer and let them know how you feel. Maybe it doesn’t result in an immediate remedy, but at least you get it off of your chest. And if enough people feel the same way, there’s a chance that things evolve more acceptably.

If all else fails, perhaps it’s time to find a suitable alternative. Sometimes, your relationship with a tool simply runs its course.

A person looks at a computer screen.

A Different Take on Control

In a profession where we aim to control all the variables, having the opposite can be maddening.

But, think of it this way: even if you could control every aspect of your work, would you even want to? It’s a major responsibility and more stress than most of us can bear.

Somewhere along the line, you have to put a level of trust in others. Whether that’s trusting a client, a software developer, or a service provider – they are often necessary rungs on the ladder to a successful business.

There will be failures and disconnects along the way. And, while it would be nice to have a measure of control over them, it’s also a bit unrealistic.

However, lack of control doesn’t mean that you have to give up all hope. Instead, look for ways to learn from the situation. The knowledge and experience you gain will serve you long into the future.

The post How Web Designers Can Cope with Situations Out of Their Control appeared first on Speckyboy Design Magazine.

50 Free High-Resolution Photoshop Brushes

Photoshop brushes let you express your creativity in a completely new way. With thousands upon thousands of Photoshop brushes available for download, you are truly spoilt for choice, so there’s no excuse not to use them.

The demand for high-quality Photoshop brushes is huge. Every designer wants them. Every designer needs them. And as you will no doubt already know, we love to highlight and share as many free design resources as possible.

And today, we take a look at some of the best high-resolution Photoshop brush packs currently available in the design community.

So download these free Photoshop Brushes and install them all. You just never know when you might need them.

How to Install Photoshop Brushes

Here’s a quick tutorial on how to install and use Photoshop brushes.

  • Download the Photoshop brush you want to use and unzip the file
  • On your computer, go to the Photoshop folder and locate Presets > Brushes
  • Move your downloaded brush file to the above folder
  • Launch Photoshop and go to Edit > Presets > Preset Manager
  • Click the Load button, locate your newly added brushes and click Open. You can also use the import presets function to install an entire folder of presets at one time. Once you’ve done that, you’re ready to use the new Photoshop brush.
  • To use a Photoshop brush, go to Window > Brushes
  • Select your brush and then paint over the canvas. You can adjust the size and shape of your brush in the Brush Settings panel

Scribble Art Photoshop Brushes (Free, 39 Brushes)

If you need to add an abstract line or shape to your designs, then this free collection of scribble art Photoshop brushes is for you.

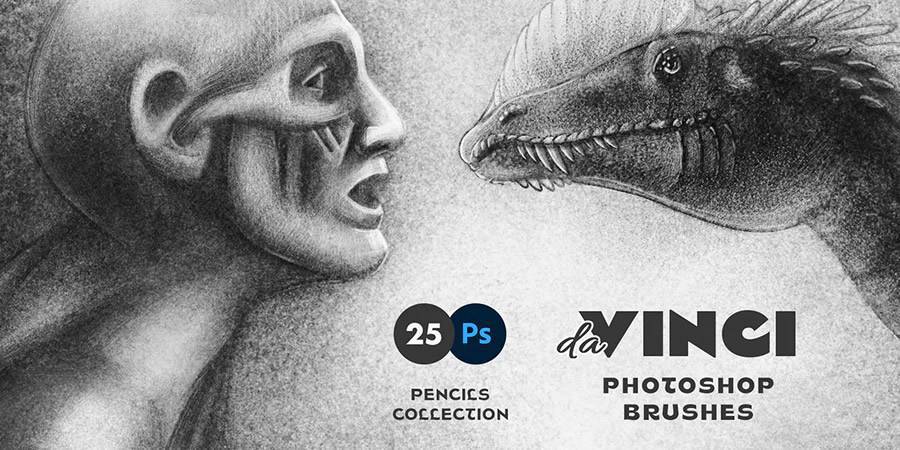
Da Vinci Pencil Photoshop Brushes (Envato Elements)

This high-resolution set contains twenty-five varied hard and soft lead pencil and sketching brushes.

Da Vinci Pencil Photoshop Brushes ABR

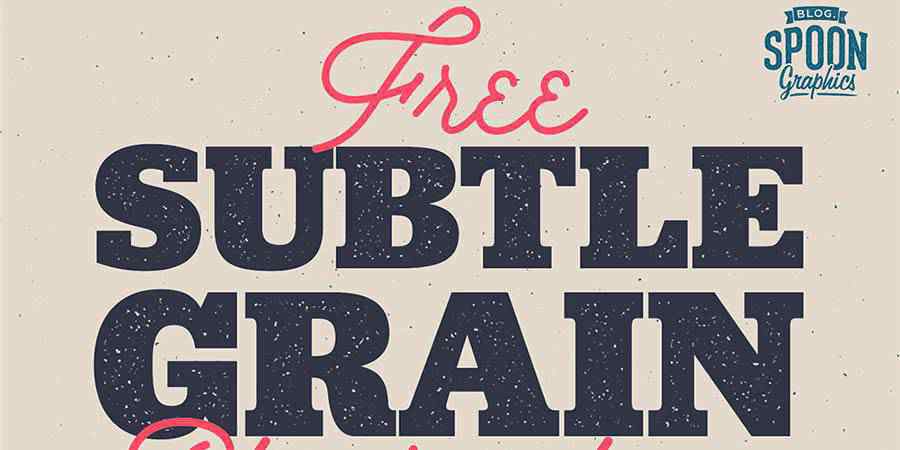
Subtle Grain Photoshop Brushes (Free, 6 Brushes)

This free Photoshop brush set from Spoon Graphics will allow you to give your clean designs a hint of texture that will quickly give them a vintage appearance.

Subtle Grain Photoshop Brushes Tools Presets Free ABR

Wavenwater Photoshop Brushes (Free)

The Wavenwater Photoshop brushes is a set of artistic brushes and tool presets for Photoshop. You can freely use these brushes in your projects and let your creativity run wild.

Wavenwater Photoshop Brushes Tools Presets Free ABR

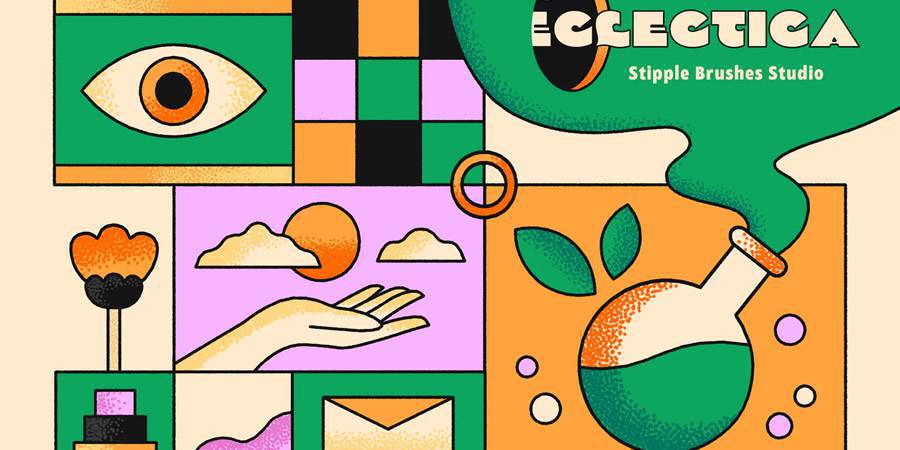
Stipple Brushes for Photoshop (Envato Elements)

If you’re looking to add a modern twist or a touch of pop-art to your art creations, you will love this Photoshop brush set!

Stipple Brushes for Photoshop ABR

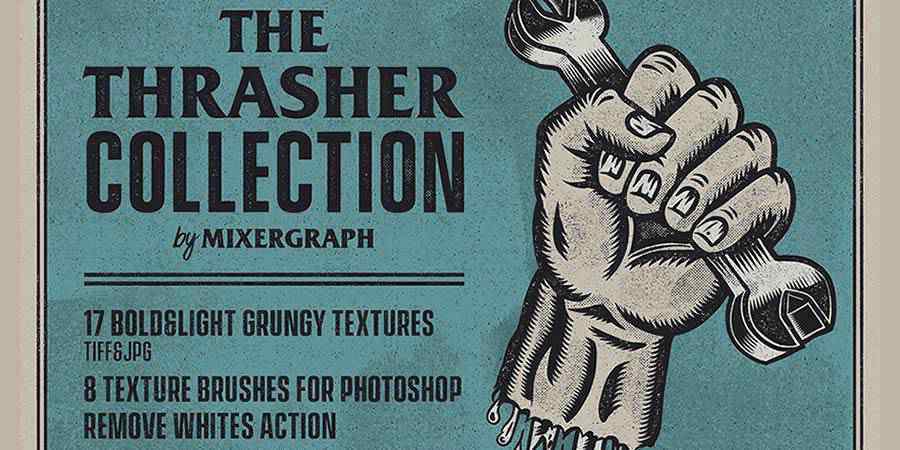
The Thrasher Collection of Photoshop Brushes (Free, 8 Brushes)

The Thrasher Collection is a free set of textures and eight Photoshop brushes for giving a grungy and textured effect to your designs.

Mixergraph Texture Photoshop Brushes Tools Presets Free ABR

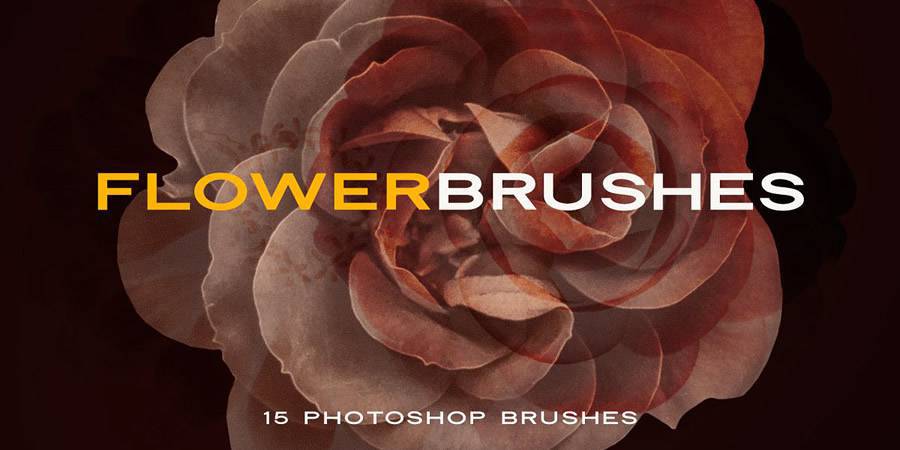
Elegant Flower High-Resolution Photoshop Brushes (Free, 15 Brushes)

This high-resolution set contains individual brushes of roses, lilacs, dandelions, and more. In total there are fifteen flowers in the free set.

Elegant Flower free photoshop brushes ABR

Watercolor Brushes for Photoshop (Envato Elements)

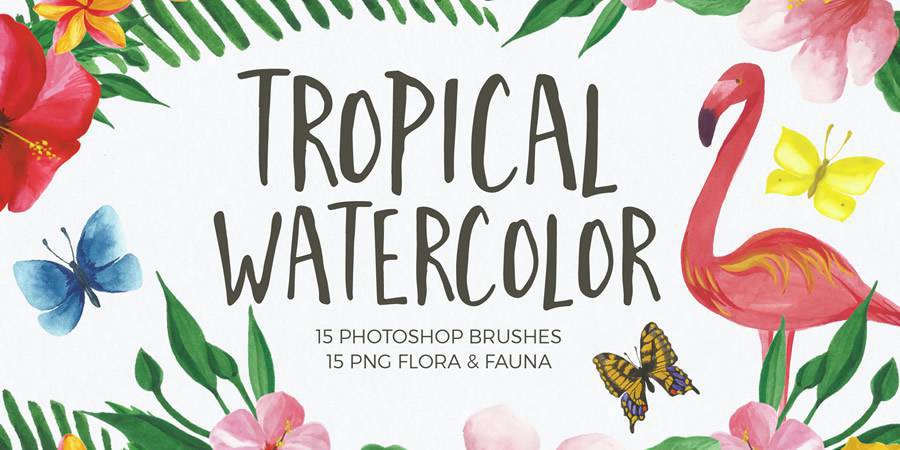
This tropical watercolor brush set for Photoshop is all you need to create a dreamy tropical watercolor scene. It features 15 watercolor brushes and various watercolor elements and backgrounds.

Watercolor Brushes for Photoshop ABR

Ink Brushes for Photoshop (Free, 28 Brushes)

Download this free collection of 28 brushes if you need to give your designs a watercolor or distressed effect.

Ink Brushes Photoshop Brushes Tools Presets Free ABR

Real Markers Photoshop Brushes (Free, 12 Brushes)

As well as a small selection of linework brushes, this fantastic collection includes a huge collection of permanent and solid marker Photoshop brushes.

Real Markers Photoshop Brushes free brushes ABR

High-Res Photoshop Brushes Watercolor Collection (Envato Elements)

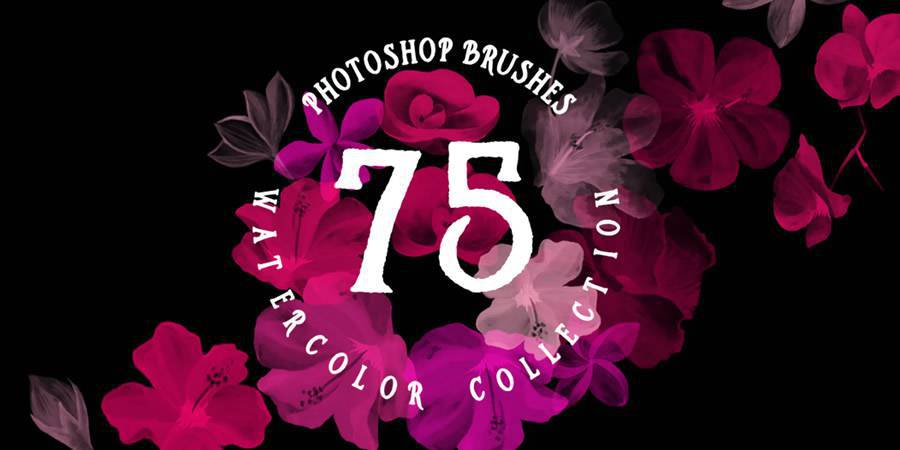
These watercolor brushes feature lovely floral elements. It’s a great set of brushes that will add a dose of elegance to any project. The set contains more than 60 floral, garland, and wreath brushes.

Photoshop Brushes Watercolor Collection ABR

Photoshop Stroke Brushes (Free, 27 Brushes)

Stroke Brushes Photoshop Brushes Tools Presets Free ABR

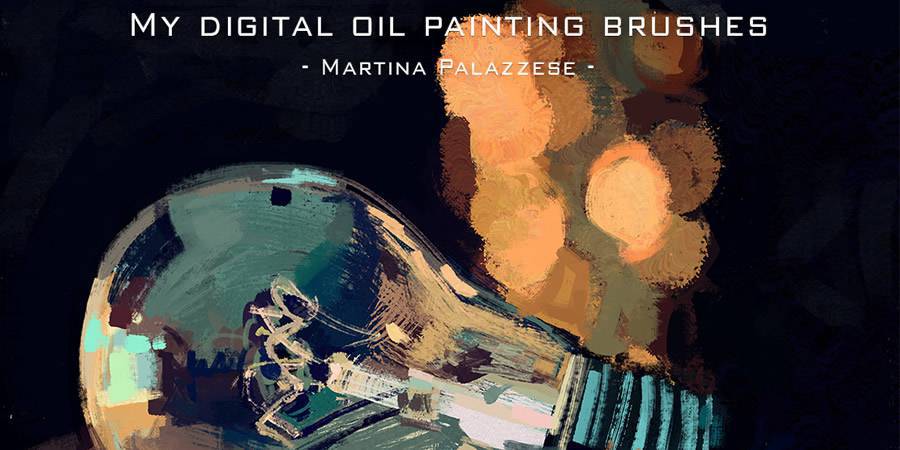
Martina Palazzese’s Digital Oil Painting Brushes (Free, 6 Brushes)

Martina Palazzese has released her personal collection of brushes so that you can create your own professional digital oil paintings.

Martina Palazzese Digital Oil Painting Brushes free photoshop brushes ABR

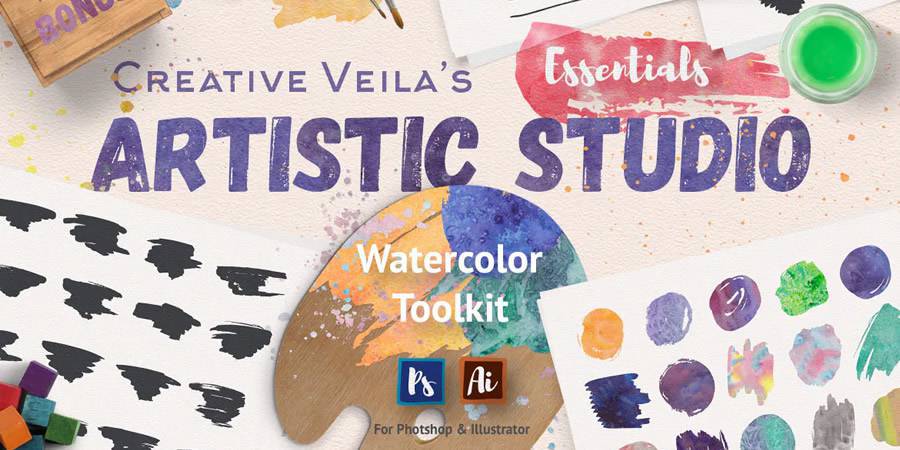
Artistic Studio: Watercolor Toolkit (Envato Elements)

This set is perfect if you want to seriously stock up your design library. It contains 35 watercolor brushes for Photoshop as well as dozens of other watercolor elements such as textures, strokes, backgrounds, and more.

Artistic Studio: Watercolor Toolkit ABR

Hi-Res Smoke Photoshop Brushes (Free, 4 Brushes)

Check out this collection of four smoke brushes for Photoshop. The brushes were done in hi-res and you can use them to spice up any design project you are working on.

Hi-Res Smoke Photoshop Brushes ABR

Dispersion Effect Photoshop Brushes (Free, 20 Brushes)

If you’re looking for a quick way of adding the stunning dispersion effect to your designs, then this free collection of twenty Photoshop brushes is what you need.

Dispersion Effect Photoshop Brushes Tools Presets Free ABR

Goldish Kit For Photoshop (Envato Elements)

Try this Goldfish kit for Photoshop if you’re working on a luxury or high-end project. The kit contains Photoshop brushes as well as layer styles, patterns, and textures.

Goldish Kit For Photoshop Extras ABR

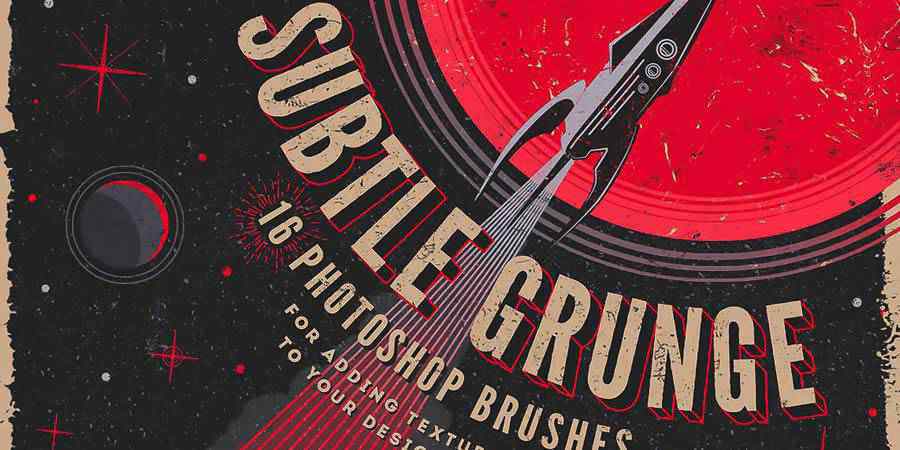
Grunge Photoshop Brush Kit (Free, 16 Brushes)

Grunge Photoshop Brush Kit Brushes Tools Presets Free ABR

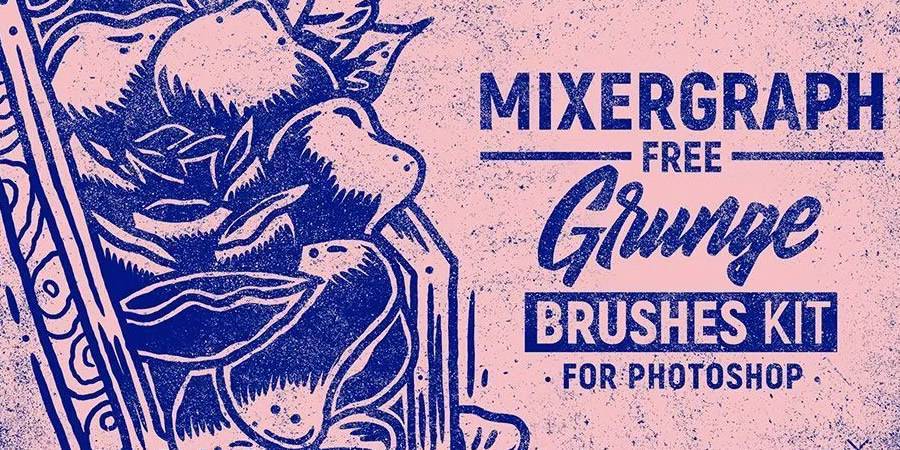
Mixergraph Grunge Brushes (Free, 5 Brushes)

All five of the individual high-resolution textures in this free Photoshop brush pack have been hand-made, digitalised and then individually edited.

Mixergraph Grunge free photoshop brushes ABR

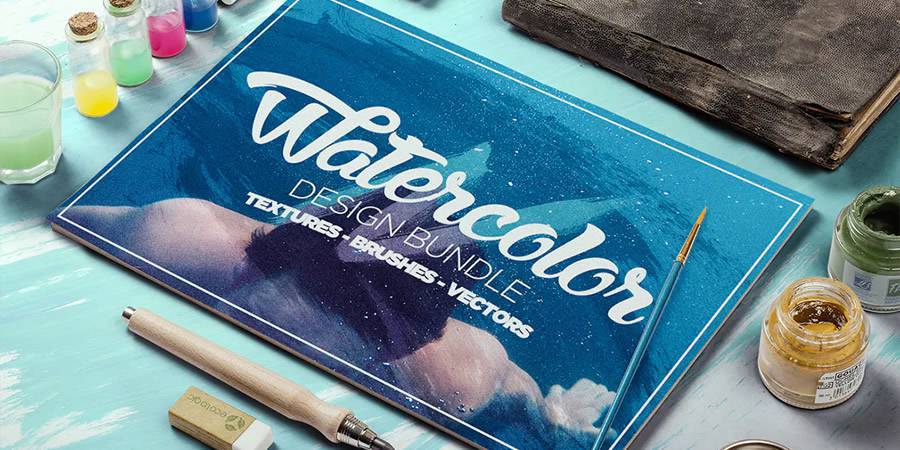
Watercolor Design Bundle (Envato Elements)

If you’re looking for a way to add artistic elements to your designs, look no further than these beautiful watercolor brushes. The set contains 169 watercolor brushes along with other various watercolor design elements.

Watercolor Design Bundle ABR

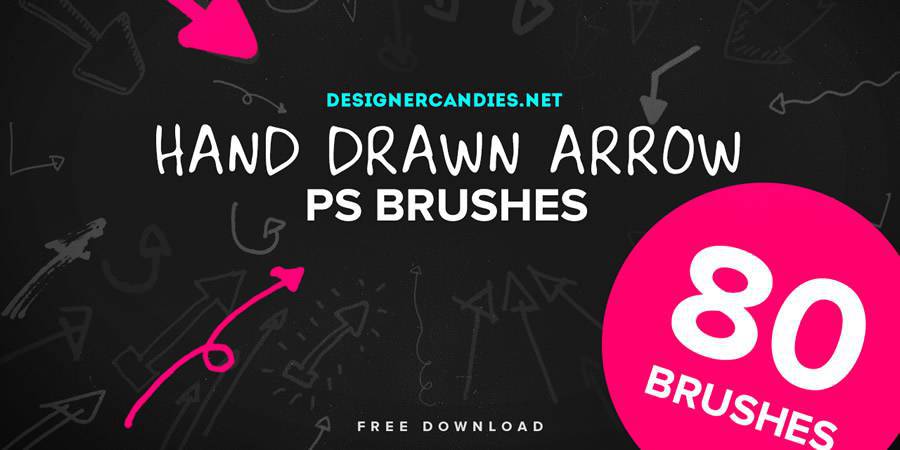
Hand Drawn Arrows Brush Set (Free, 80 Brushes)

All created by hand, this free Photoshop brush set contains eighty individually sketched or drawn arrows.

Hand Drawn Arrows PS Brush Set free photoshop brushes ABR

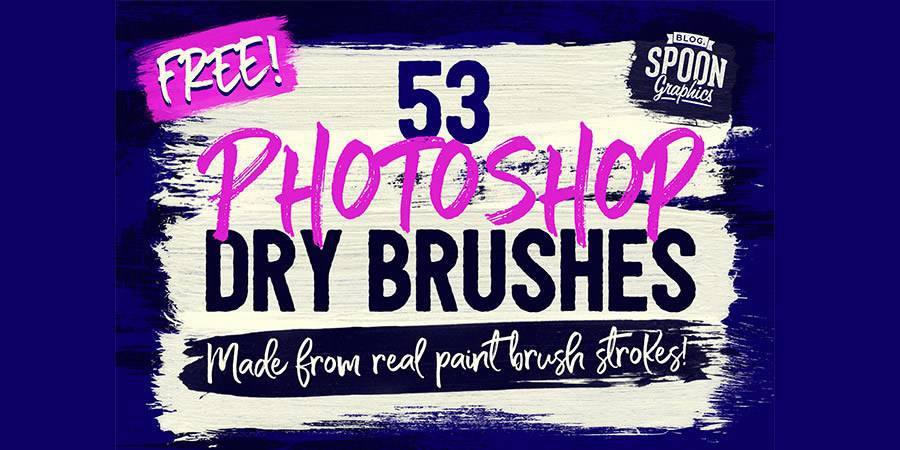
Real Photoshop Brush Strokes (Free, 53 Brushes)

This high-resolution (2500px) set of Photoshop Dry Brushes contains fifty-three brush presets, giving a huge choice of brush effects.

Real Brush Strokes free photoshop brushes ABR

Coffee Paint Photoshop Brushes (Free, 16 Brushes)

If you need to give your project a distressed or rough appearance, then this collection of 16 Photoshop brushes is what you’re looking for.

Coffee Paint Photoshop Brushes Tools Presets Free ABR

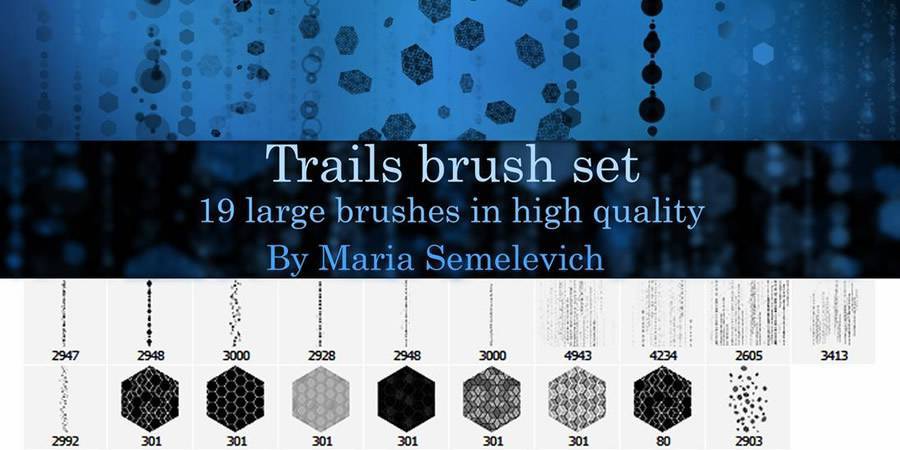
Trails Brush Set (Free, 19 Brushes)

This Trails brush set features 19 high quality brushes for Photoshop. The brushes can be used in both commercial and personal project but keep in mind attribution is required.

Trails Brush Set 19 Brushes ABR

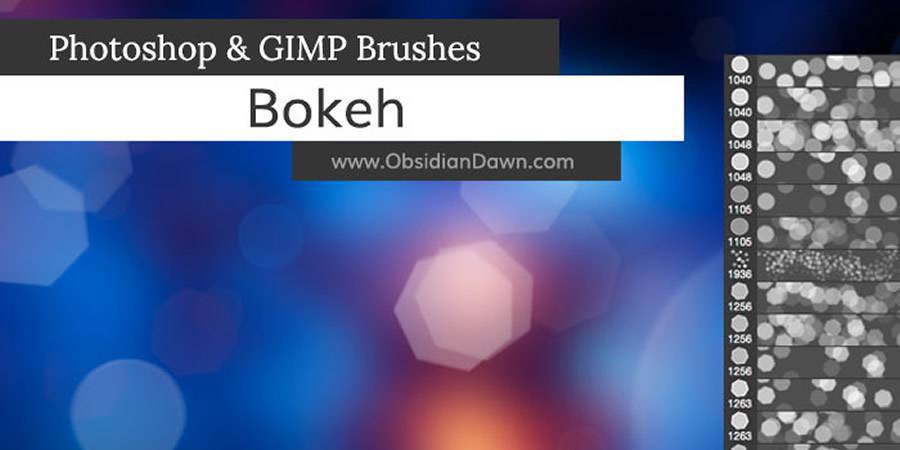
Bokeh Photoshop Brushes (Free, 8 Brushes)

If you want to apply a bokeh effect to your design easily, try this set of bokeh brushes. You will find 8 different brushes that can be used in any personal project.

Bokeh Photoshop Brushes ABR

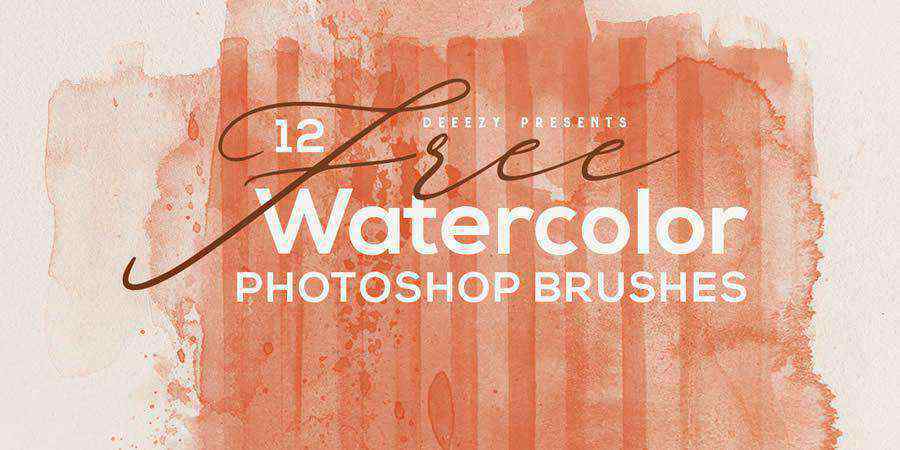
Abstract Watercolor Brushes (Free, 12 Brushes)

This stunning free Photoshop bundle includes twelve transparent watercolor brushes and a free paper background texture.

Abstract Watercolor Photoshop Brushes Tools Presets Free ABR

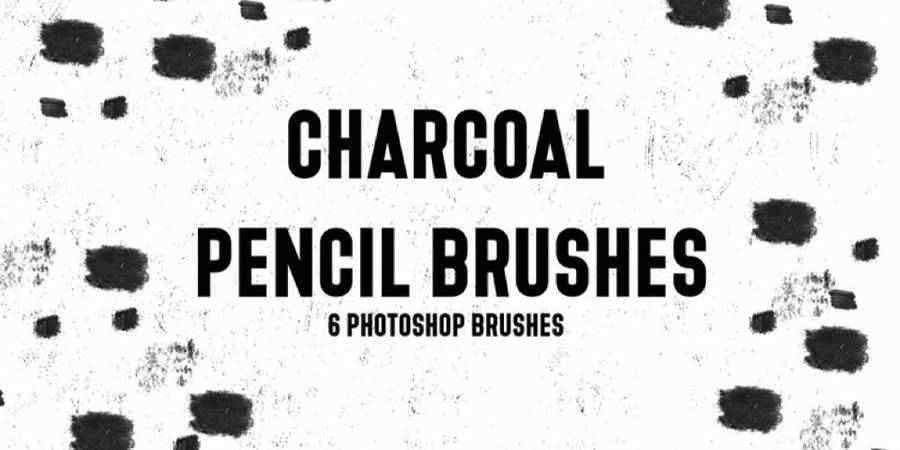
Charcoal Pencil Photoshop Brushes (Free, 6 Brushes)

This is a free hand-drawn charcoal pencil brush set that includes brushed, gritted, grained, flicked, wacked, and dabbed brushes.

Charcoal Pencil Photoshop Brushes Tools Presets Free ABR

Doodle Birds & Frames Photoshop (Free, 9 Brushes)

This free set contains nine free Photoshop brushes of hand-drawn birds and frames.

Doodle Birds & Frames Photoshop Brushes Tools Presets Free ABR

Water Splash Photoshop Brushes (Free, 11 Brushes)

This package, created by Niño Batitis, contains 11 high-resolution water splash brushes.

Water Splash Photoshop Brushes ABR

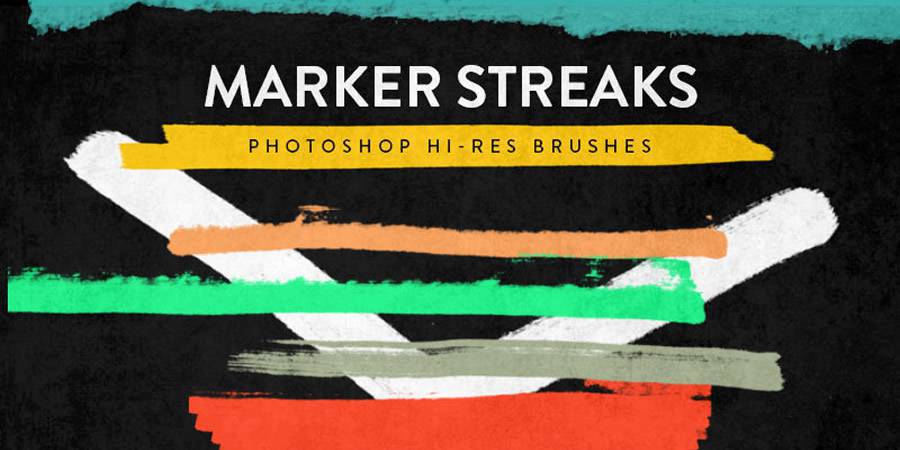
Marker Streak Brushes (Free, 20 Brushes)

This set of Photoshop brushes contains 20 high resolution marker streak brushes. The brushes can be used in both personal and commercial projects with no limitations.

Marker Streak Brushes ABR

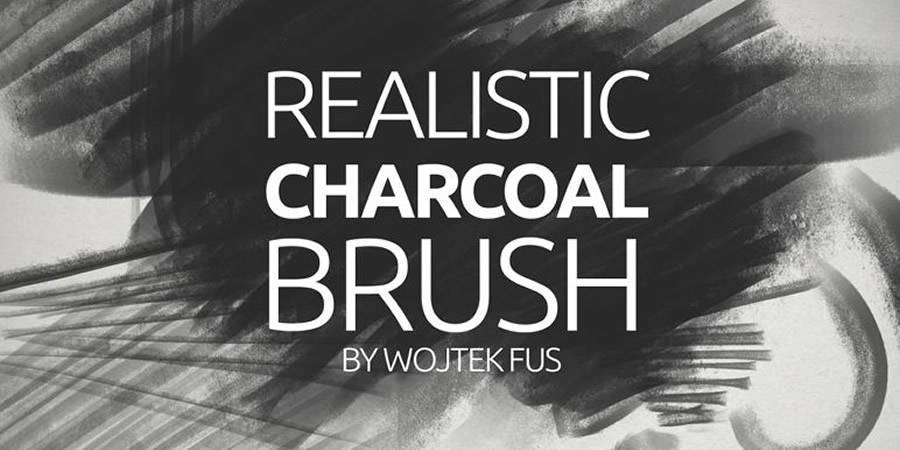
Realistic Charcoal Photoshop Brushes (Free)

This set of realistic charcoal brushes was born out of an artist’s need for realistic charcoal feel in their designs. The set features various charcoal style brushes and can be used with no limitations.

realistic Charcoal Brush

High Resolution Cloud Photoshop Brushes (Free, 20 Brushes)

In this high resolution (2500px) pack there are 20 cloud brushes. These brushes are free to download and use in both commercial and personal projects.

High Resolution Cloud Photoshop Brushes ABR

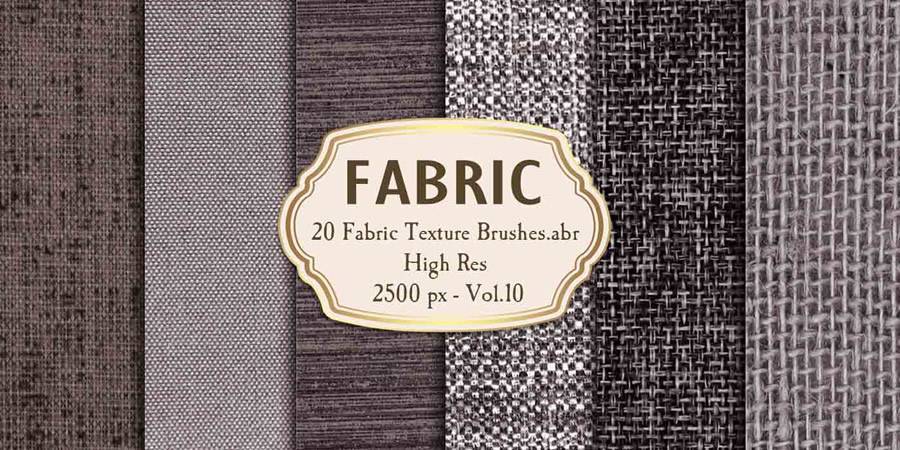
High-Resolution Fabric Texture Photoshop Brushes (Free, 20 Brushes)

There are twenty fabric textures in this pack, and are all sized at 2500px.

High Resolution Fabric Texture Photoshop Brushes ABR

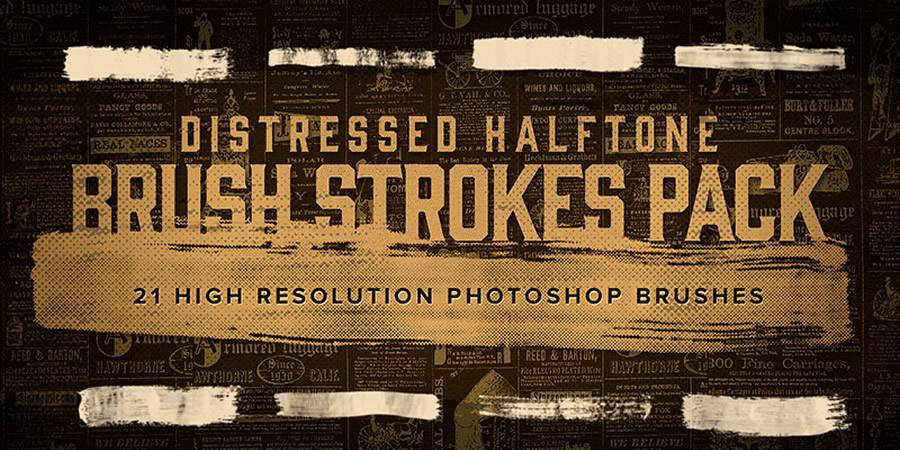
Distressed Halftone Brush Strokes (Free, 21 Brushes)

In this brush pack there are 21 hand-painted brush strokes that have been post-processed and bitmapped inside Photoshop, giving them a wonderful distressed halftone effect.

Distressed Halftone Brush Strokes ABR

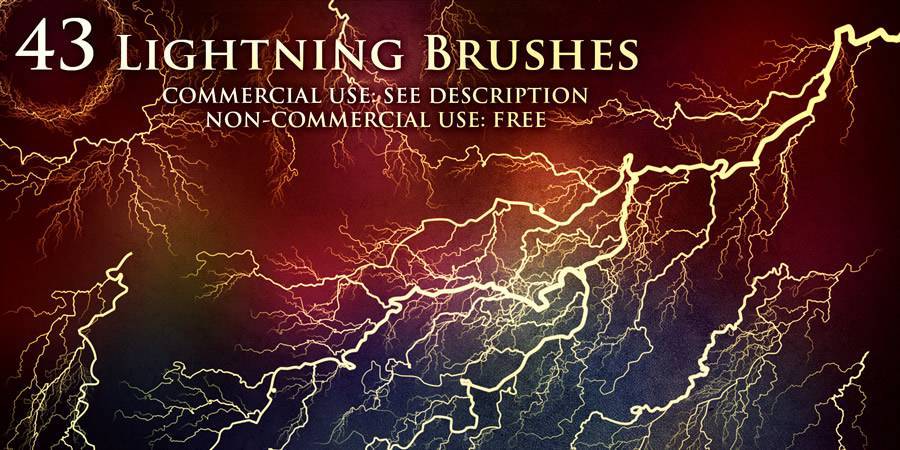
Lightning Photoshop Brushes (Free, 43 Brushes)

How about adding some lightning to your project? With the help of this brushes, you’re sure to make some electrifying designs! Brushes can be used for personal projects.

Lightning Photoshop Brushes ABR

Oil Photoshop Brushes (Free, 20 Brushes)

If you need oil Photoshop brushes, this set will serve you nicely. The set contains twenty brushes that can be used in personal and commercial projects.

Oil Photoshop Brushes ABR

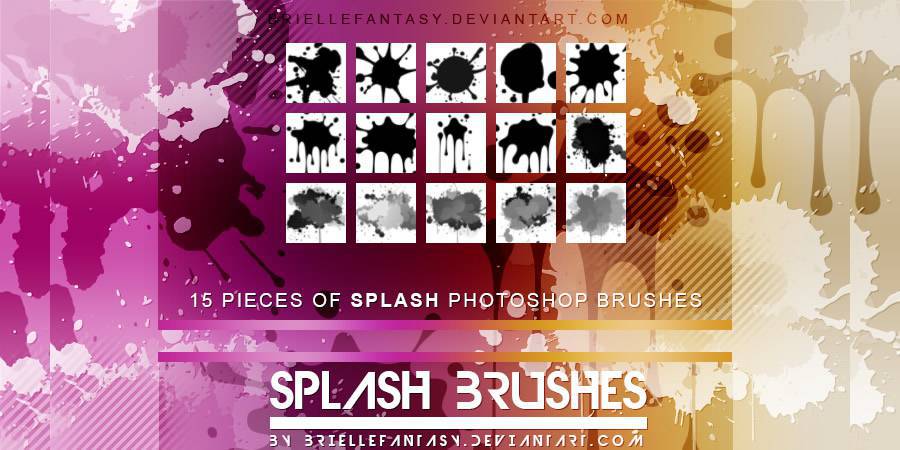
Splash Photoshop Brushes (Free, 15 Brushes)

Check out this collection of 15 splash brushes for Photoshop. It’s perfect for any grunge project and you can use these brushes in both commercial and personal projects.

Splash Photoshop Brushes ABR

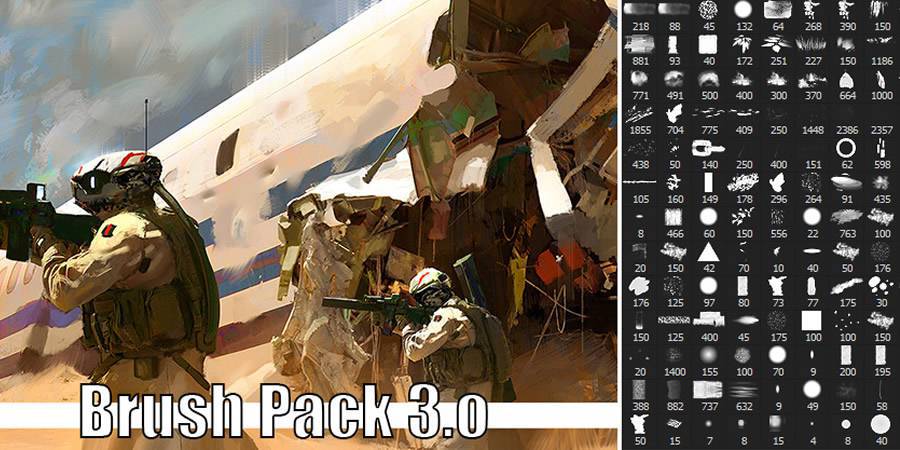
Brush Pack v3 by Fenris31 (Free)

This brush pack by Fenris31 contains various brushes for Photoshop that will be suitable for all kinds of artistic and design projects. Use them in commercial and personal projects alike.

Brush Pack ABR

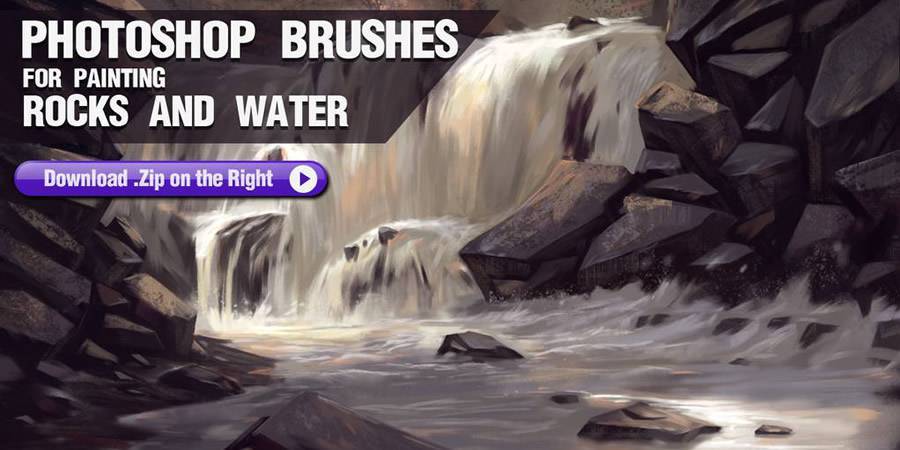
Photoshop Brushes for Painting Rocks and Water (Free)

If you want to achieve great results when painting rocks and water, consider this set of brushes. You will find various brushes that can be used for both commercial and personal projects. Crediting is not required but greatly appreciated.

Photoshop Brushes for Painting Rocks and Water ABR

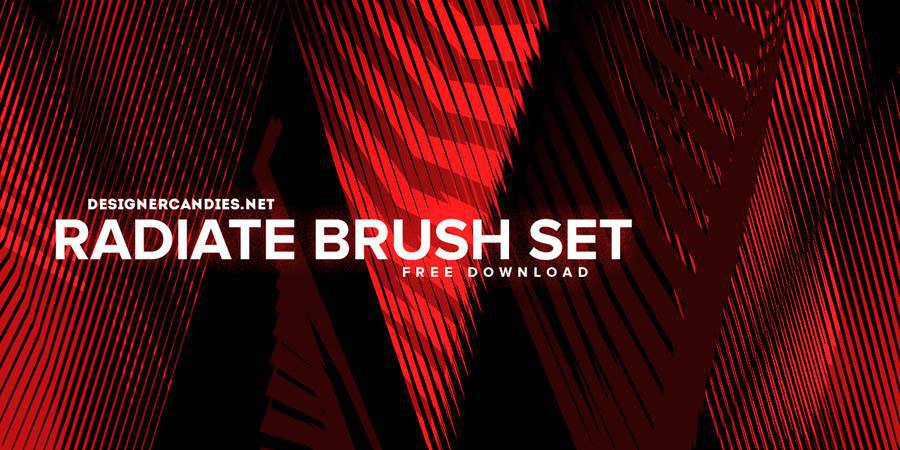
Radiate Brush Set (Free, 12 Brushes)

This brush set includes 12 unique & abstract techno style brushes. Great for album artwork, abstract backgrounds and decorating tech style design projects.

Radiate Brush Set ABR

Fairy Tales Photoshop Brush Set (Free, 9 Brushes)

In this set there are 9 high resolution (1000 up to 2500px) brushes. They can be used for creating fantasy backgrounds and textures like rocks and metals.

Fairy Tales Photoshop Brush Set ABR

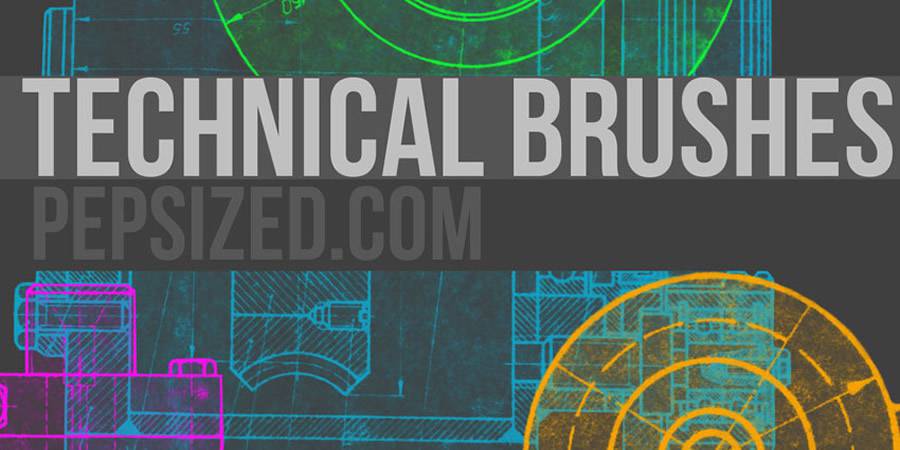
Old Technical Drawings Brushes (Free, 10 Brushes)

This set of brushes was made from old technical drawings so they are pretty realistic. The pack contains 10 brushes and they can be used for both commercial and personal projects.

Free Photoshop Brush Packs Old Technical Drawings Brushes there are 10 Brushes in the pack

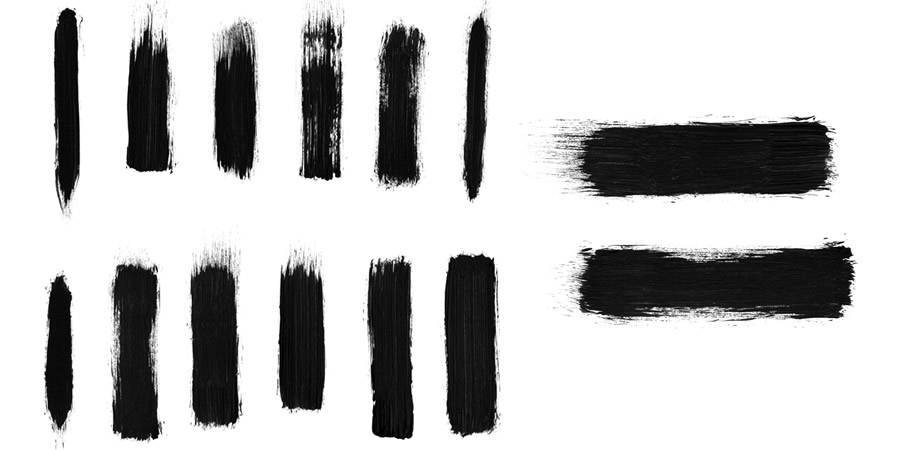
High Res Dry Brush Stroke Brushes (Free, 12 Brushes)

This pack of high resolution brushes contains 12 dry brush stroke brushes. The pack can be used in personal and commercial projects, however attribution is required.

Free Photoshop Brush Packs High Res Dry Brush Stroke Brushes there are 12 Brushes in the pack

Bokeh Brushes (Free, 12 Brushes)

This set of bokeh brushes comes with 12 individual brushes that are perfect for any project that could use a little extra. The brushes are free to use in personal and commercial projects.

Bokeh Brushes there are 12 Brushes in the pack

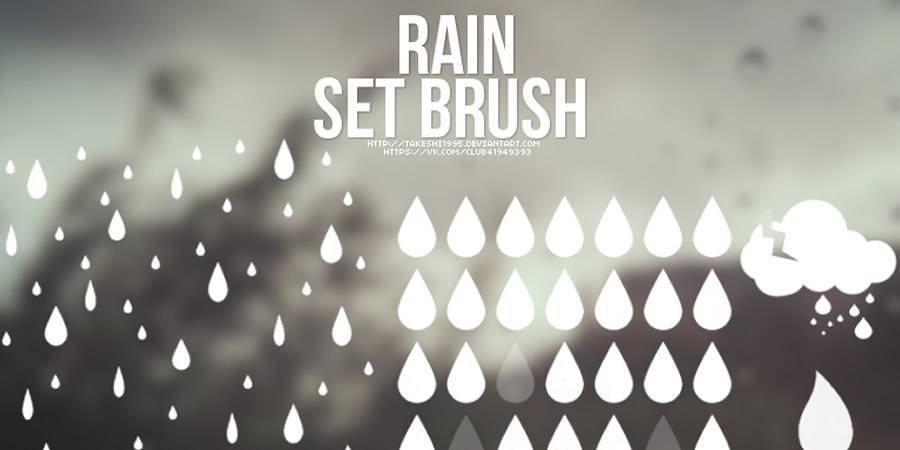
Rain Photoshop Brush Set (Free)

Create realistic rain effect with the help of the Rain brushes for Photoshop. The pack can be used for commercial and personal projects.

Rain Photoshop Brush Set

TC-EPICA-I (Free, 10 Brushes)

TC-EPICA-I is a set of artistic brushes. It contains 10 different brushes that can be used to apply textures, smudges, and effects to your designs. The pack is free for personal and commercial projects with attribution required.

TC-EPICA-I there are 10 Brushes in the pack

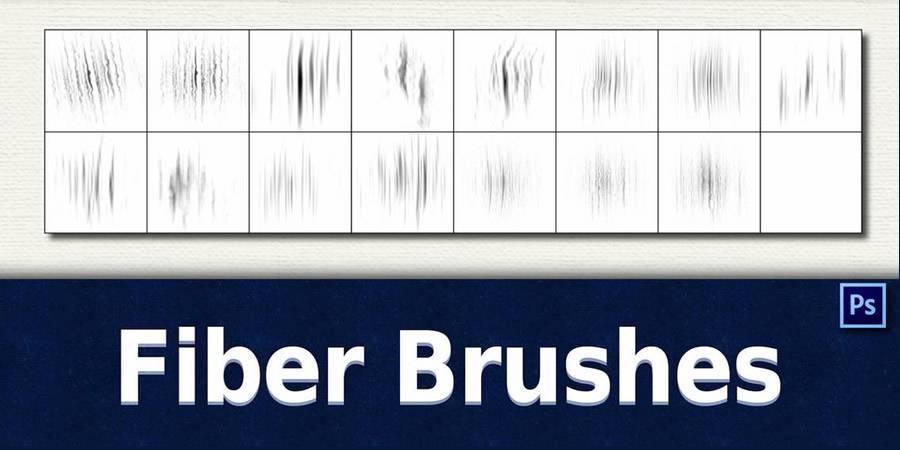
Fiber Brushes (Free, 16 Brushes)

This pack contains 16 high resolution fiber brushes. They can be used in commercial and personal projects and crediting is not required but it is appreciated.

Free Photoshop Fiber Brushes there are 16 Brushes in the pack

Custom Brushes of Tyler Street (Free, 40 Brushes)

With an unusual name like this, you’re bound to find some original brushes for your design project. The pack contains 40 different brushes that can be used for personal and commercial projects.

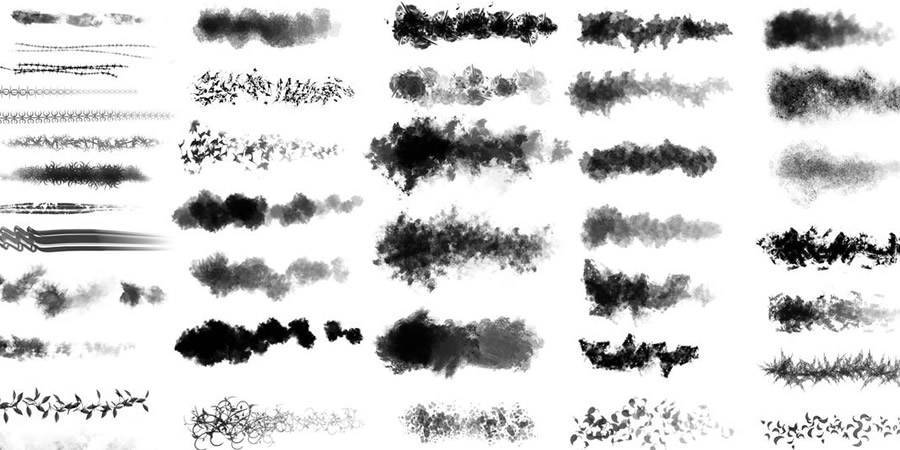
Free Photoshop Custom Brushes of Tyler Street there are 40 Brushes in the pack

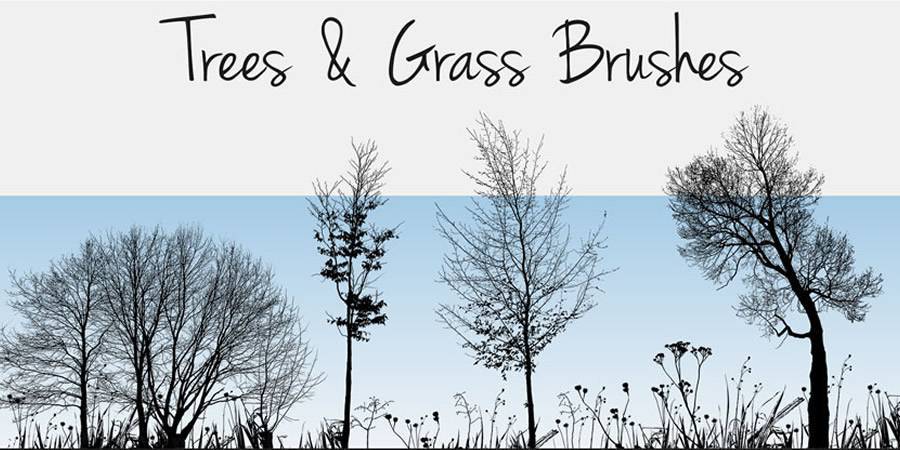
Nature Silhouettes Trees & Grass Brushes (Free, 19 Brushes)

Add a dash of nature to your designs with the help of these nature silhouette brushes. The pack contains 19 brushes and is free for personal and commercial use.

Free Photoshop Nature Silhouettes Trees & Grass Brushes there are 19 Brushes in the pack

Abstract Bokeh Brushes (Free, 24 Brushes)

Now you can easily add lomo and light-leak effect to your photos without recreating this effect from scratch. The pack contains 24 different brushes.

Free Photoshop Abstract Bokeh Brushes there are 24 Brushes in the pack

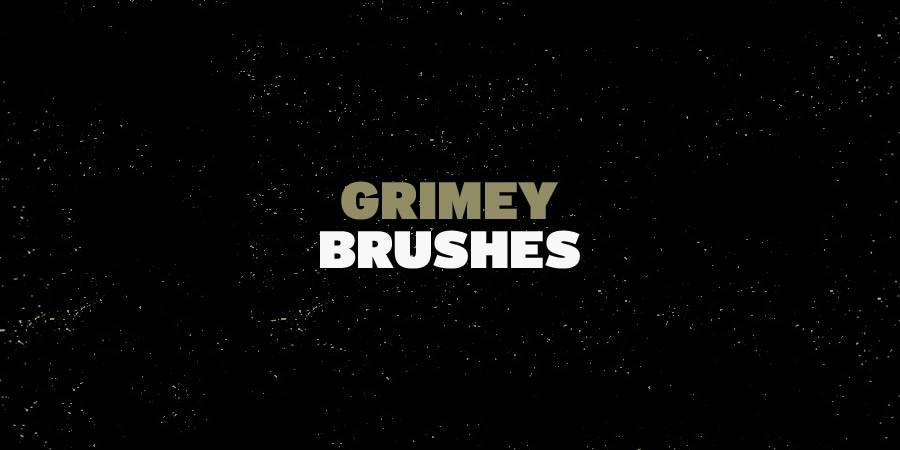
Grimey Brushes (Free, 5 Brushes)

This pack of 5 brushes will add grime to any design. You can use the pack in personal and commercial projects with no limitations.

Free Photoshop Grimey Brushes there are 5 Brushes in the pack

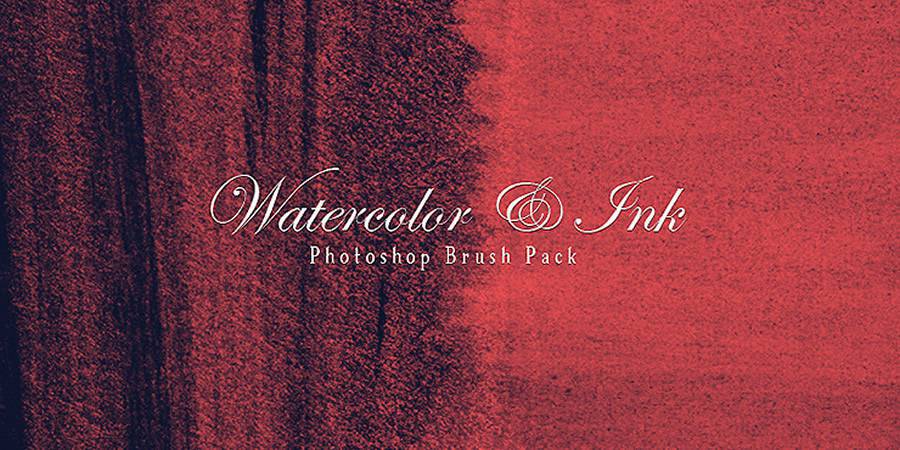
Watercolour & Ink Photoshop Brushes (Free, 25 Brushes)

These brushes have been created by using either watercolor paints or Indian ink on card. You can freely use them in both your personal or commercial work.

Watercolour and Ink Photoshop Brushes free photoshop brushes ABR

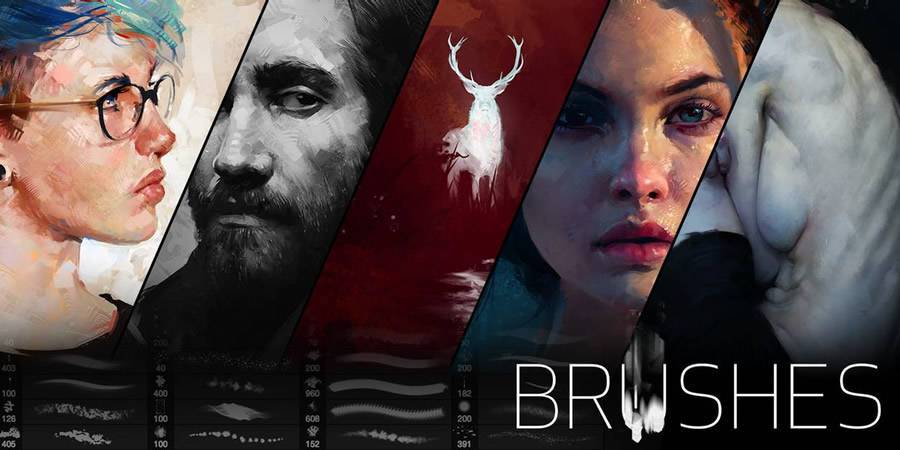
Aaron Griffin’s Digital Painting Brushes (Free, 6 Brushes)

Aaron Griffin Digital Painting free photoshop brushes ABR

Cloud Photoshop Brushes (Free, 15 Brushes)

There are fifteen individual cloud brushes in this set. You can use this free brush set with no commercial restrictions

cloud free photoshop brushes ABR

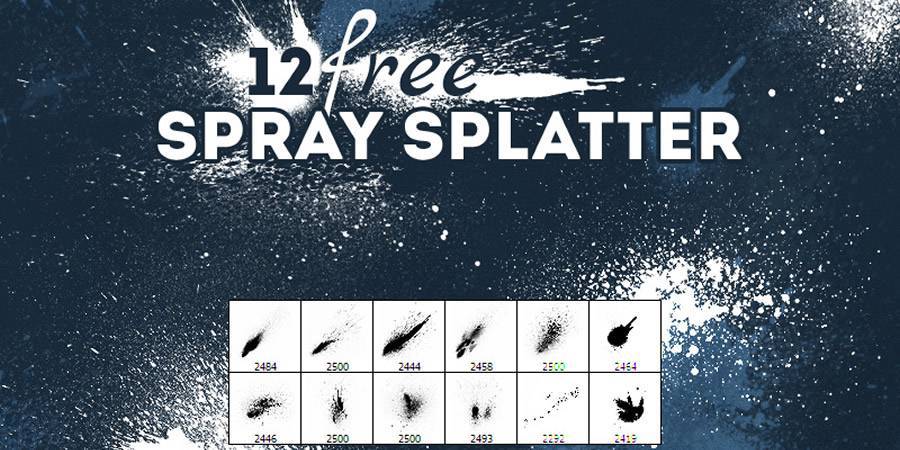
Spray Splatter Photoshop Brushes (Free, 12 Brushes)

These free splattered spray Photoshop brushes will be perfect for adding a grungy or dirty effect to your artwork.

Spray Platter free photoshop brushes ABR

Smoke & Fire Brushes (Free, 22 Brushes)

There are twenty-two brushes in this free high-resolution smoke and fire set.

Smoke and Fire free photoshop brushes ABR

High Resolution Fire Photoshop Brushes (Free, 20 Brushes)

This pack contains twenty high-resolution fire brushes, perfect for creating fiery text effect, glowing embers, or using them for lighting effects.

High Resolution Fire Photoshop Brushes ABR

Photoshop Smoke Brushes (Free, 13 Brushes)

This pack contains thirteen high quality Photoshop smoke brushes perfect for your next design project.

Photoshop Smoke Brushes ABR

The post 50 Free High-Resolution Photoshop Brushes appeared first on Speckyboy Design Magazine.
Did you miss our previous article…
https://www.1clanek.info/?p=1086

An Introduction to the WordPress theme.json File

As the WordPress Gutenberg block editor has evolved, theme developers have been encouraged to integrate it into their work. But in some ways, the editor itself is still a work in progress. That has led to frustration.

While including some features have been simple enough, there are challenges. Among the biggest headaches have been customizing block styles and setting up default color palettes.

These items have to be declared and styled in separate parts of a theme. When you need to make changes, that could mean editing multiple files. And if you switch to a new theme, you’ll have to recreate it all from scratch.

The solution? Enter the WordPress theme.json file. It aims to be an all-encompassing place for styling the block editor on both the front and back ends.

Today, we’ll take a look at what theme.json can do and how it will benefit WordPress theme developers. Let’s get started!

Bringing Block Styles and Defaults Under One Roof

According to the Block Editor Handbook, the rationale behind theme.json is to provide “a canonical way to define the settings of the block editor”. In practice, it offers theme developers granular control over how various blocks are styled and what options are available to users in the back end.

This allows for setting sitewide defaults for styling colors, fonts, and even the editor itself. But it also enables developers to go deeper and manage things on a per-block basis.

With theme.json, it’s possible to account for one-off situations where a specific block has different defaults than the others. For instance, if you wanted to provide a unique default font size for the Columns block, you can do so within this file. Likewise, you might also remove spacing options from that same block.

The result is a block editor that is more closely aligned with the theme. Developers no longer have to settle for Gutenberg’s out-of-the-box defaults or deal with clunky workarounds. In addition, they can set parameters for how users can manipulate blocks in an easier-to-maintain manner.

And now for the “magic” part: WordPress will read the settings in your theme.json file and output the necessary CSS for you. There’s no need to hack away at your stylesheet and only one file to change. How cool is that?

There are also some performance benefits. Normally, customizing block styles within the editor means both the original and edited versions are loaded in.

As the Handbook states, “…if a theme and a user set the font size for paragraphs, we only enqueue the style coming from the user and not the theme’s.” Fewer lines of CSS mean faster load times.

Prerequisites

Before we start configuring our theme.json file, there are a few requirements to get out of the way:

WordPress 5.8 and above is required.

The file should reside in your theme’s root directory. For example: /wp-content/themes/mytheme/theme.json

The available settings are expected to grow over time and some are experimental. Thus, you may need to install the official Gutenberg plugin to access certain items.

Still, there are plenty of goodies to play with! Let’s explore a basic example.

Creating a Basic theme.json File

As its name indicates, the theme.json file is written in JSON. And, once you have a basic template, it’s possible to edit or add to the file by following the established syntax.

Eventually, one can envision a vast array of boilerplates and code generators for developers to use. For this demo, we used the Gutenberg Theme.json Creator. It provides a simple interface for generating a custom file.

Goals

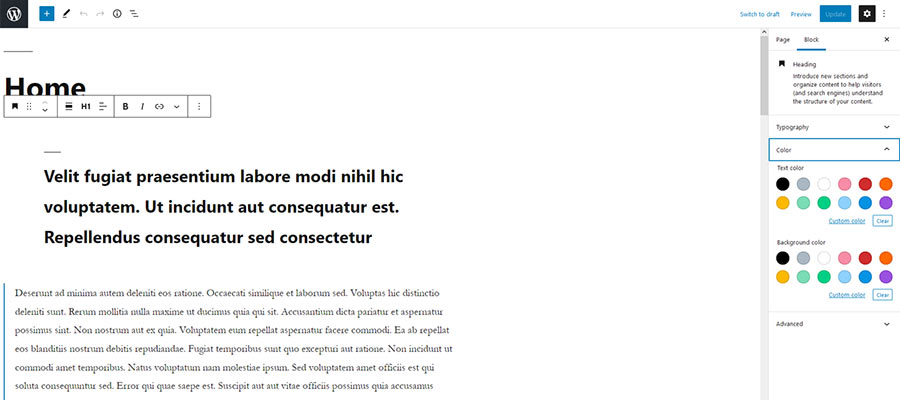
Our mission will be to clean up the color options on our website. By default, there are simply too many possible colors a user could choose from – including creating their own custom hues.

That could lead to an inconsistent user interface. Therefore, we’ll scale things back to just our brand’s color palette.

The WordPress block editor with a full palette of color options.

To do so, we’ll tweak the following in Gutenberg Theme.json Creator:

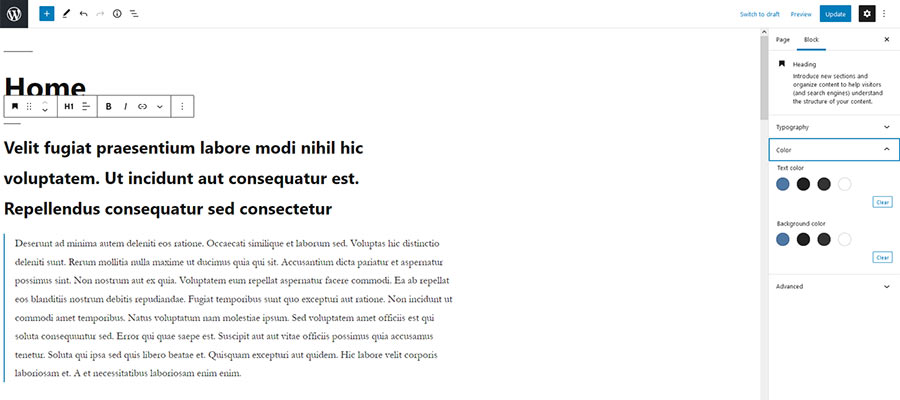
  • Disable “Custom Colors” and “Custom Gradient” options;
  • Add a custom color palette with our brand’s colors;

Now, we can copy the generated output into a new theme.json file, which we’ll save to the root directory of our theme (we’re using Twenty Nineteen here).

The Result

Our custom theme.json file worked as expected. The simplified color palette we configured has replaced the default setting. And the user’s ability to create custom hues and gradients has been removed from the block editor.

In addition, WordPress has written all of the required CSS for us. Thus, any color changes we make in the block editor are also reflected on the front end.

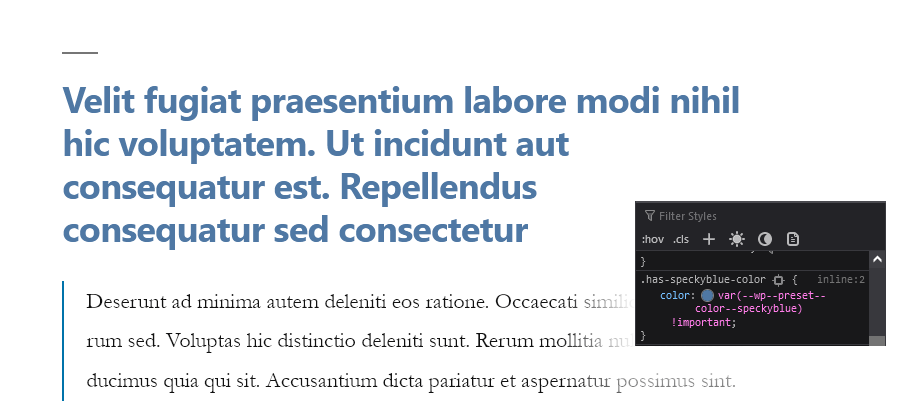
Color palette changes reflected on the front end of a website and within the CSS.

Finally, because all of this resides in a single file, making future changes and additions will be a relatively simple process.

Going Further with theme.json

We’ve only scratched the surface of what theme.json is capable of. If you’re looking to further your knowledge, check out these helpful resources:

The post An Introduction to the WordPress theme.json File appeared first on Speckyboy Design Magazine.

Did you miss our previous article…
https://www.1clanek.info/?p=956